Thursday, December 1, 2022

DIY Miniature Stockings

I'm starting to get into the holiday spirit now that it is officially December! And that means getting my miniature stalls all festive too! So I came up with this easy DIY for stockings and figured I'd share it. These are no-sew since my sewing machine needs a bit of repairs and much like everything that is backlogged a lot. These use a really small amount of fabric so perfect for using up some scraps too!


Materials/tools:
Fabric in small print pattern or plain
Flannel (I used white)
Fabric Glue (I used liquid stitch)
Ribbon
Clips to hold stuff together while it drys
Sharp scissors


Pattern:

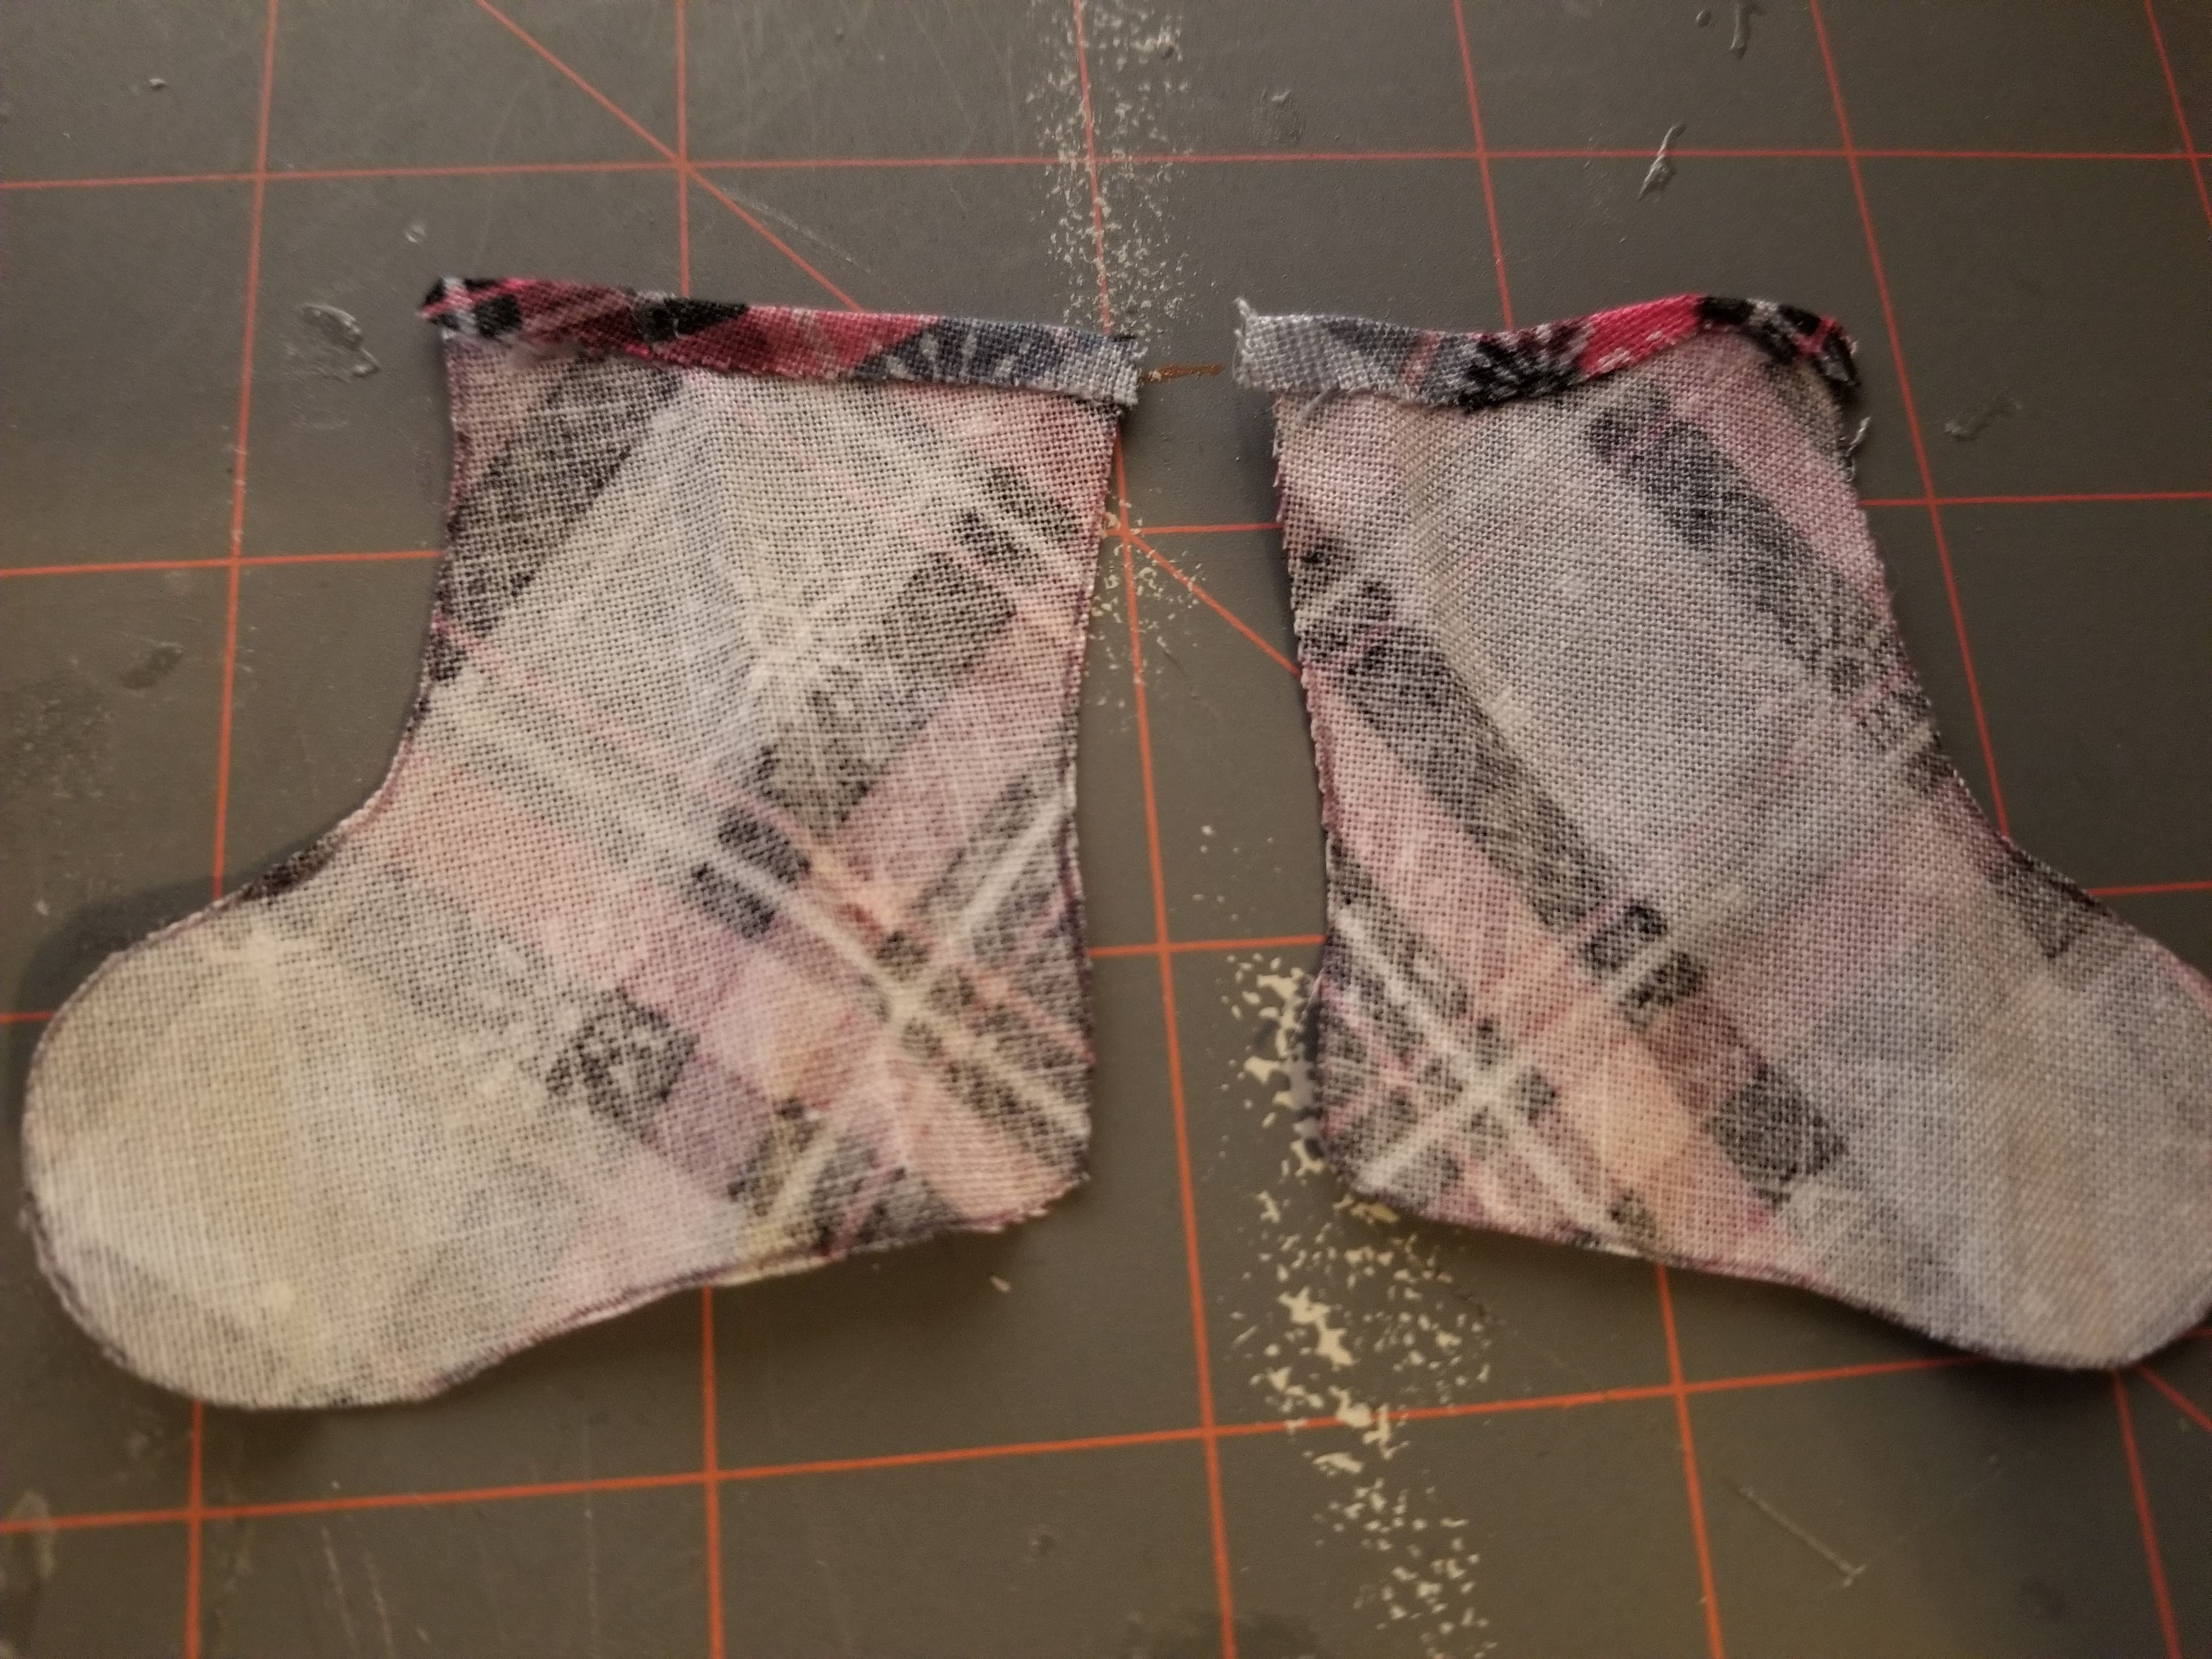
  1. Cut out two pieces of fabric, making sure to flip the pattern over for the second piece.

2. Fold over a small amount of the top of each side and glue. Folding the good side of the fabric to the bad side.


3. On the good side of one piece glue around the edge, as close to the edge and as thin of a line as possible to maximize space in the stocking.

4. Place the 2nd piece good side down on the first. I clamp around the opening to get a strong seal.

5. Once the glue has dried (I usually wait overnight) turn the stocking inside out. Press it down with your fingers to flatten and use a marker to push out the seems on the inside. Careful not to poke a hole through the glue. On the left you can see what it will look like once turned and on the right is after I pushed out the inside and flattened the top part a bit.

6. Cut a strip of fleece approximately 1/2 inch wide and glue to the top of the stocking. Also cut a small piece of ribbon. Fold the ribbon in half and glue it together to for a loop, then glue to the back of the stocking so it can be hung.

7. Fill with Christmas goodies and hang!


Monday, August 29, 2022

It's a Front

 I don't have the room for a full barn like I envisioned, but I do have the space for a stall or two... as roomboxes! So I started working on making a very fancy stall front.


One of the tricky parts was getting all the measurements right so that it fits snuggly in the outer box.


Cutting popsicle sticks to the exact same size is challenging.


Glueing together the popsicle sticks while trying to keep everything in a straight line.


Meanwhile I was designing the top bar parts in Fusion 360 in imperial *gasp* because all the square dowels were in inches and the box itself is in inches. (Oh sweet metric, going to 3/8" is so much worse than 9.5 mm)


I was also painting coffee stirrers (which along with popsicle sticks are my new favorite things).

Once they were painted and the trim was added to the doors things were looking pretty good!


I then had to get my hinges sorted out. These ones have very tiny screws that I needed to dig mini holes to put in. But combined with glue that will make them extra secure!


Up next is cutting all of the wood slats for the sides of the stall, finding a good battery light, making a latch for the stall, and deciding if I want to panel the back or brick the back because I have options. But overall I am really pleased with how this is coming together! 


Thursday, August 18, 2022

Miniature Kits


Much like how Rio Rondo kits are one of the best ways to introduce new tackmakers, miniature kits are really good for learning a ton of skills. Also I had a 40% off coupon to hobby lobby and when I returned some unused flowers from the wedding I was looking for something new to try.

So I picked up this adorable chocolatier kit. It started out in quite a few pieces and took up all my workspace. 


Following the book I made this cute little cabinet. So far I was following along and it seemed easy enough.


Then I got to practice putting together little paper things while getting glue everywhere but where it should be.


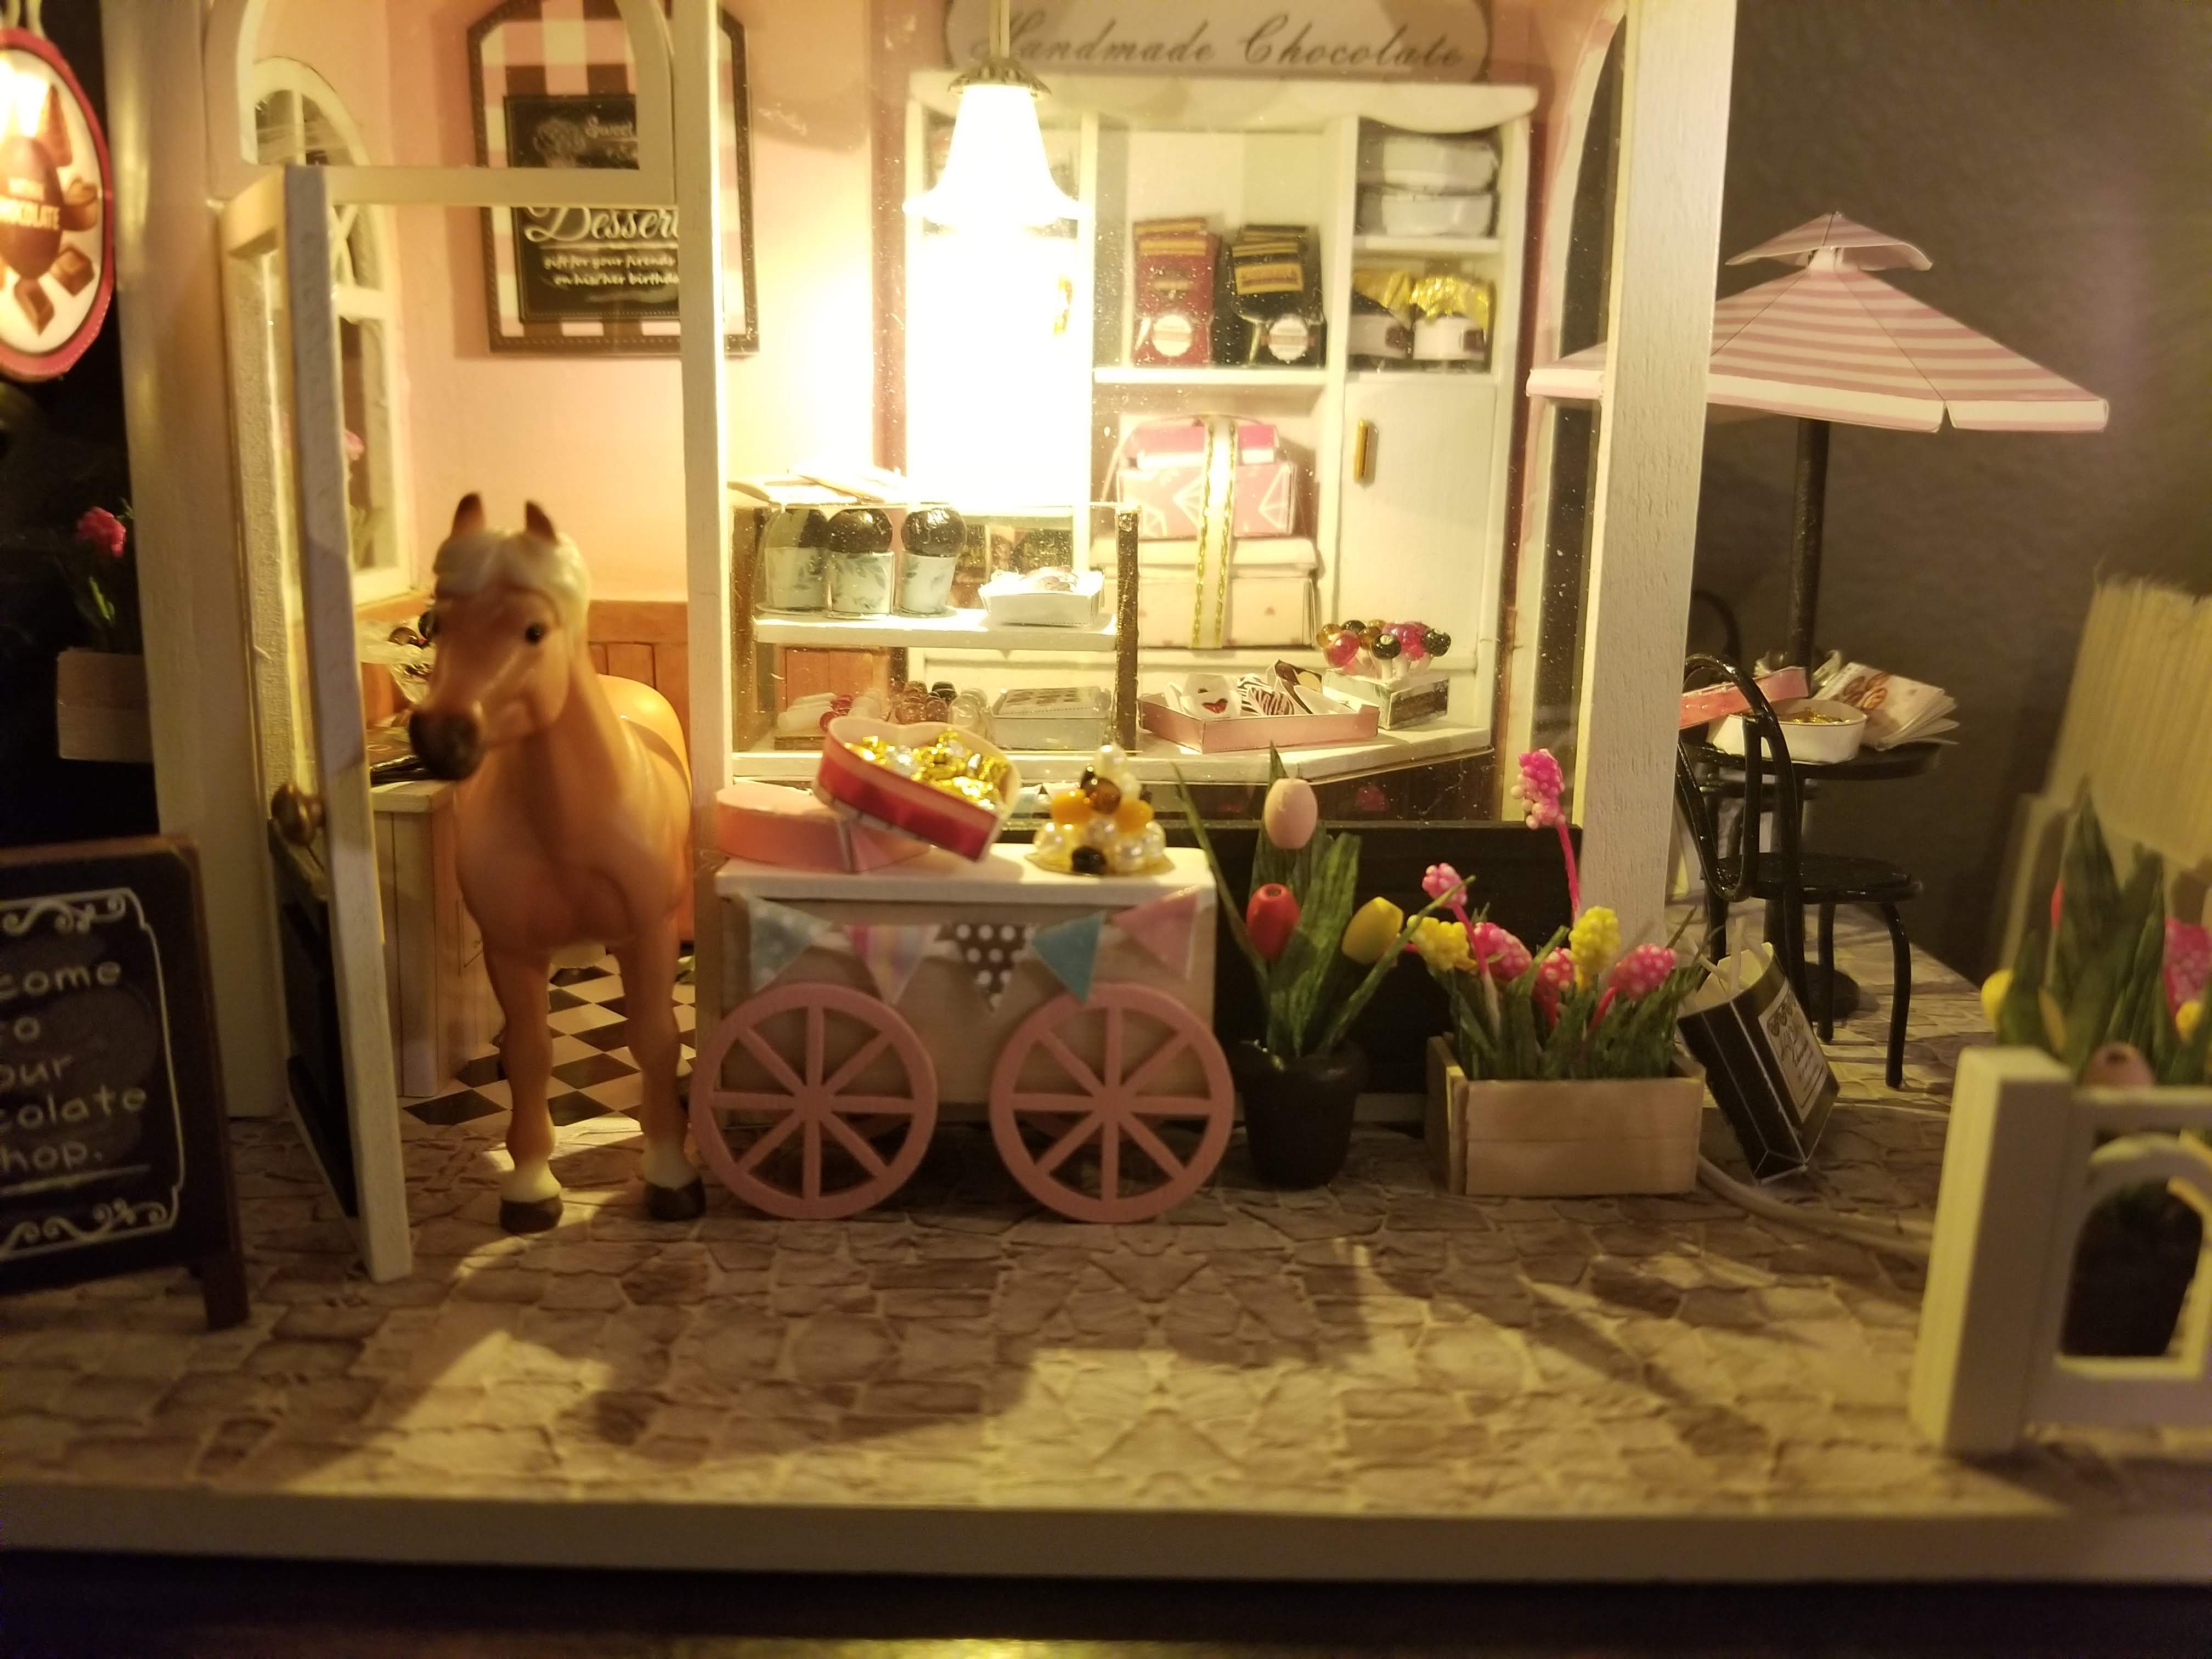
The kit is supposed to be 1:24 so my stablemates were a bit small for it but I couldn't find my two schleich horses.


A tiny cabinet filled with chocolates. This is what dreams are made of.


Even more tiny treats, yum!


Then I decided I didn't like all of the pink so I repainted it all glossy black. Black is the new pink or something.


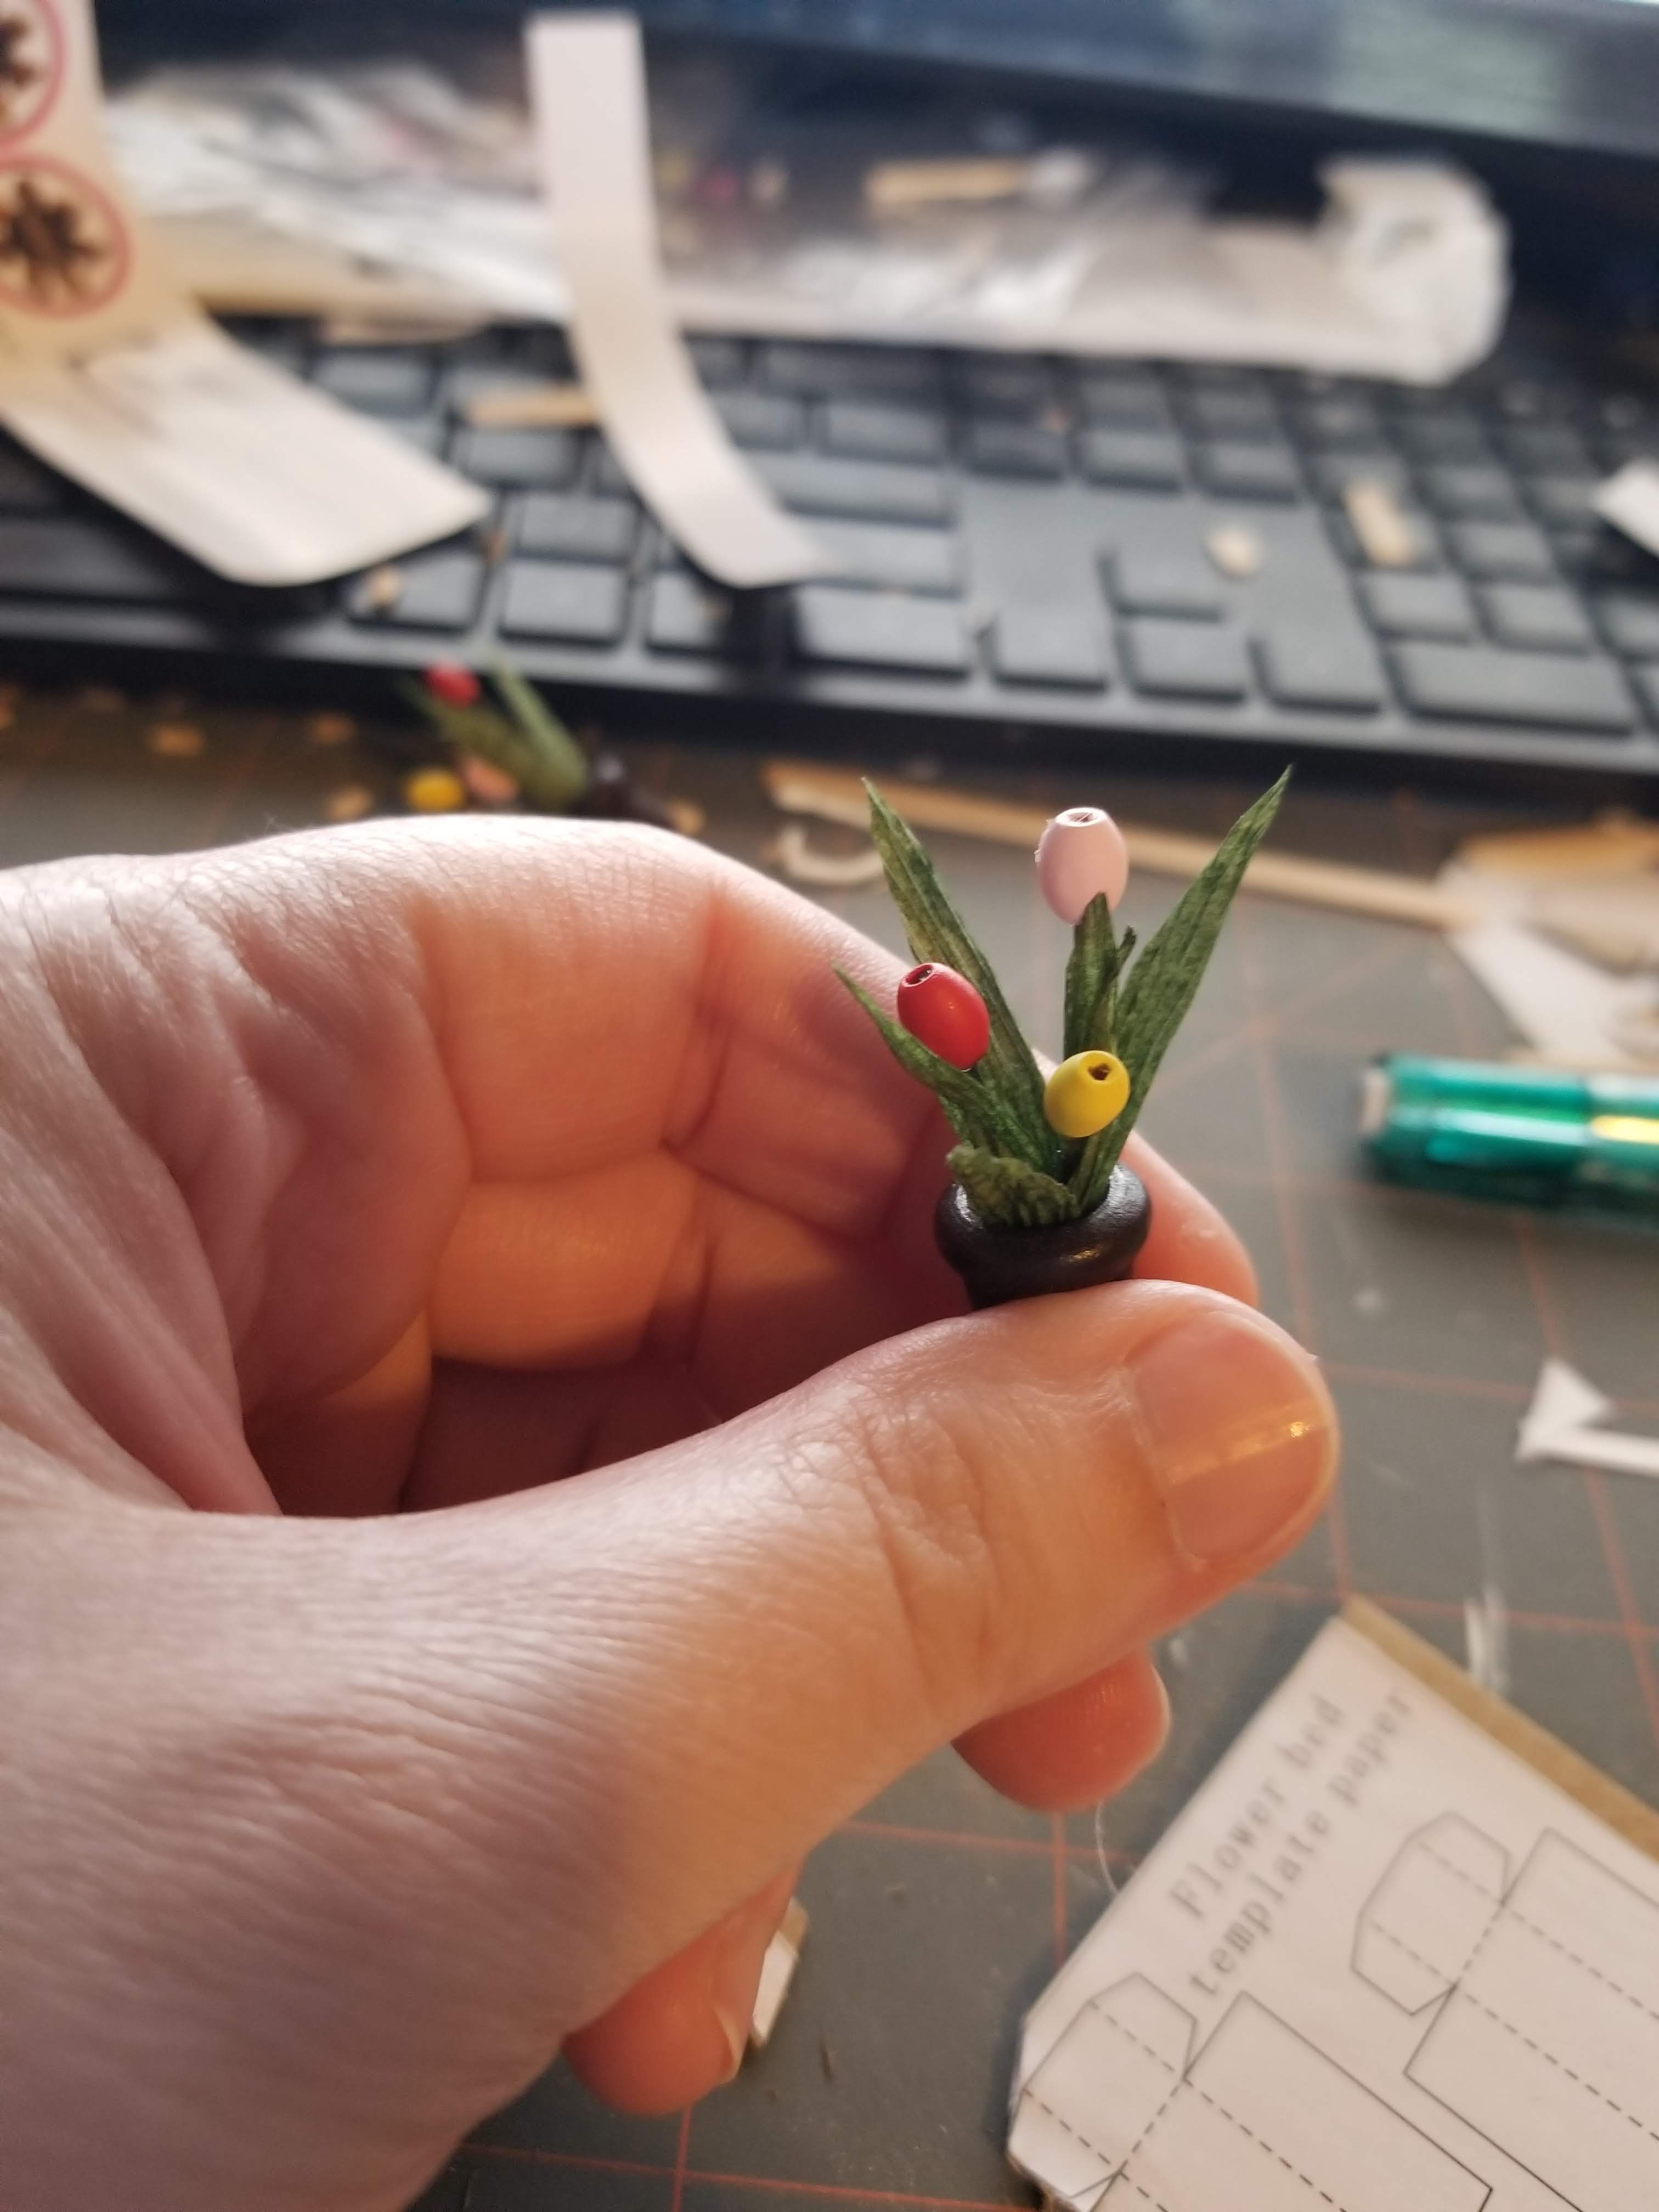
I started putting together flowers. I should get some of the green papery stuff they had in the kit. These flowers actually turned out really well.


So at this point I decided that just painting a few panels wasn't custom enough and I'd watched a lot of the Square to Spare youtube videos so I had a baggie of coffee stirrers...

So frustrating but it turned out really nice. Then of course I blocked most of it with furniture but idk. It was a valuable skill to learn.


So anyway after painting all of the pink panels black because I wasn't feeling pink I made the contradictory executive decision to paint the interior pink?


Putting the furniture in was one of the most rewarding parts. Especially since I was the one who put it together.


Then brandishing my coffee stirrers I decided to redo the planters since the cardboard was not behaving.


Then I was working on the exterior of the shop. I painted the table and chairs glossy black too since they started as pink and gold.


Getting the lighting working was hard. I had never really worked with this stuff and I wired it backwards because I am terrible at reading instructions so that was a struggle for a bit. Lots of little wires.


But I got it all put together and it looks fabulous!


So I highly recommend trying one of these little kits. Overall it took me two weeks of effort just an hour after work or a few hours on the weekend but it is sooo cute! I also learned a lot of skills that will be helpful when I finally work up the nerve to attempt a barn project. I learned how to do wiring, make tiny paper items, assemble tiny furniture, and do miniature trim. And above all I had fun!

Tuesday, August 9, 2022

Green

I love colorful kitchens! Yes white cabinets look crisp and clean (until they don't) but they're also kinda boring. Blue cabinets, green cabinets, even brown cabinets are better in my opinion. Now that I've got a 1:9 cabinet model any color is possible. I'll have some of these cabinets (unfinished) available with prep instructions. The light blue kitchen was done with a coat of spray primer followed by two coats light blue spray paint. This is the easiest way to paint them. The spray paint adheres well, there's minimal effort and you don't have to hide brush strokes. I swear I'll be doing any more kitchens/ painted prints this way. But this is about the second way, the hard way.

This way still requires a layer of primer, specifically one intended for plastics. I still sprayed on my primer for this because it is way easier but brush on primers exist and can be ordered off of amazon. 


Then I started brushing on the craft acrylic. This is at two coats.


Three coats!


Here's them with 4 coats and all assembled with the beginnings of a counter! 


Monday, July 11, 2022

Kitchen Makeovers

Sometimes I really wonder what goes through my mind (Anthony does too) but I got it into my head that I wanted to have 1:9 scale furniture. And after doing various basic and useful pieces (tables, chairs, desks) I've branched out to kitchens!


So the door on the stove opens and there will be wire shelves inside. I think it looks like a really nice stove. I do need to scale up my pot though (lol).


Then I worked on making a fridge, which also has working doors and shelves inside! I need to go mini grocery shopping. The dolls keep opening it up to stare inside but never find what they want to eat.


It looks pretty sharp with the cabinets and sinks. I tried really hard to get the cabinets to work with hinges but it was way too finicky so eventually I gave up and just glued on the doors. The drawers do work. Otherwise I think it looks really good. All that's left is a balsa wood countertop but that will take a trip to joanns...🛒

My etsy will be reopening on August 1st! There will be kitchen stuff and furniture. I've only got a couple colors for the cabinets right now (primed or light blue) since the 100+ degree heat killed all of our spray paint in the garage. I'm going to be scaling back a bit on how many of an item are available right now but I will take custom orders for larger quantities.


Thursday, June 9, 2022

Throwback Thursday: Let's Ride Silverbuckle stables

My life is complete. It crushed me when my fancy new computer couldn't run the disk. (that was like 10 years ago). But now? I found it on steam and it brings me joy.
  https://store.steampowered.com/app/1587860/Lets_Ride_Silver_Buckle_Stables/

If you've never played. You get a farm and a horse(s).


And you can take care of your horse in the barn. Wash and brush it. Get it food and water. Give it treats.


You can take it on trail rides around your farm.
+

And you can go to horse shows and compete in western games like barrel racing. To win buckles and more horses/ different saddles.


It was super fun. Much easier now that I'm an adult but I spent quite a few hours replaying it.


Upgrading a Wreath, horse girl style