I'm really enjoying making these little tutorials so this is a bit more elaborate one than the blankets. The first part is making the poles which can be used as jump bars or as ground poles and is a pretty quick project. The second part is a bit more tricky but I've tried to simplify it as best as I could and provide good step by step instructions. Some of these may actually end up in my etsy shop. Also If you are a kid, make sure a parent helps you cut the wood for these.
Making the Ground Poles
Making the Ground Poles
Supplies
- 4 8” x 3/16” lengths of dowel rod
- painters tape
- 2 coordinating paint colors
- paintbrushes
- cup of water to clean paint brushes
- And a horse of course!
Instructions
1. Cut the dowel rod/ have a parent cut the dowel rod into the specified sizes
2. Paint the entire dowel rod with the base color.
3. Let paint dry.
4. Wrap painters tape around dowel in 1.5” intervals starting from both ends
5. Paint the dowel with 2nd color.
6. Let it dry.
7. Remove tape and make sure that paint didn’t seep under.
8. Fix up any seepage spaces.

I found the instructions for making the jump stand here: (https://www.breyerhorses.com/index.php?pageId=635) and I've made a few alterations and added a lot of pictures to follow along with.
Building a Traditional Sized Jump
Supplies
- 3/8” Square wooden dowel (4 cut to length of 6” and 4 to length of 1.5”)
- 5/16” wooden dowels (3 cut to length of 10”)
- Popsicle sticks
- 1/2" x 1" cardboard strips (6 of these)
- Paint
- Paintbrushes
- Tacky glue
- Legos for straight edges and measuring
- A model horse for sizing
Instructions

3. Take two of the long square dowels and two short square dowel pieces. Using a lego as a straight edge, glue the short dowels between the two longer dowels approximately 1 inch from each end. Make sure the long dowels are even. See picture below:


4. Repeat step 3 with the remaining square dowel rods.
5. Next we will make the cups. Cut 6 small rectangles from the cardboard ½”x1”. Next make the cuts shown in the picture with the middle being the width of the jump post. he pictures will be a better guide than my explanation.


6. Then bend into thirds with the top tabs folded backwards and the bottom tabs folded upwards.


7. Glue the bottom tabs to the top tabs to form the shape below. This will make a cup.
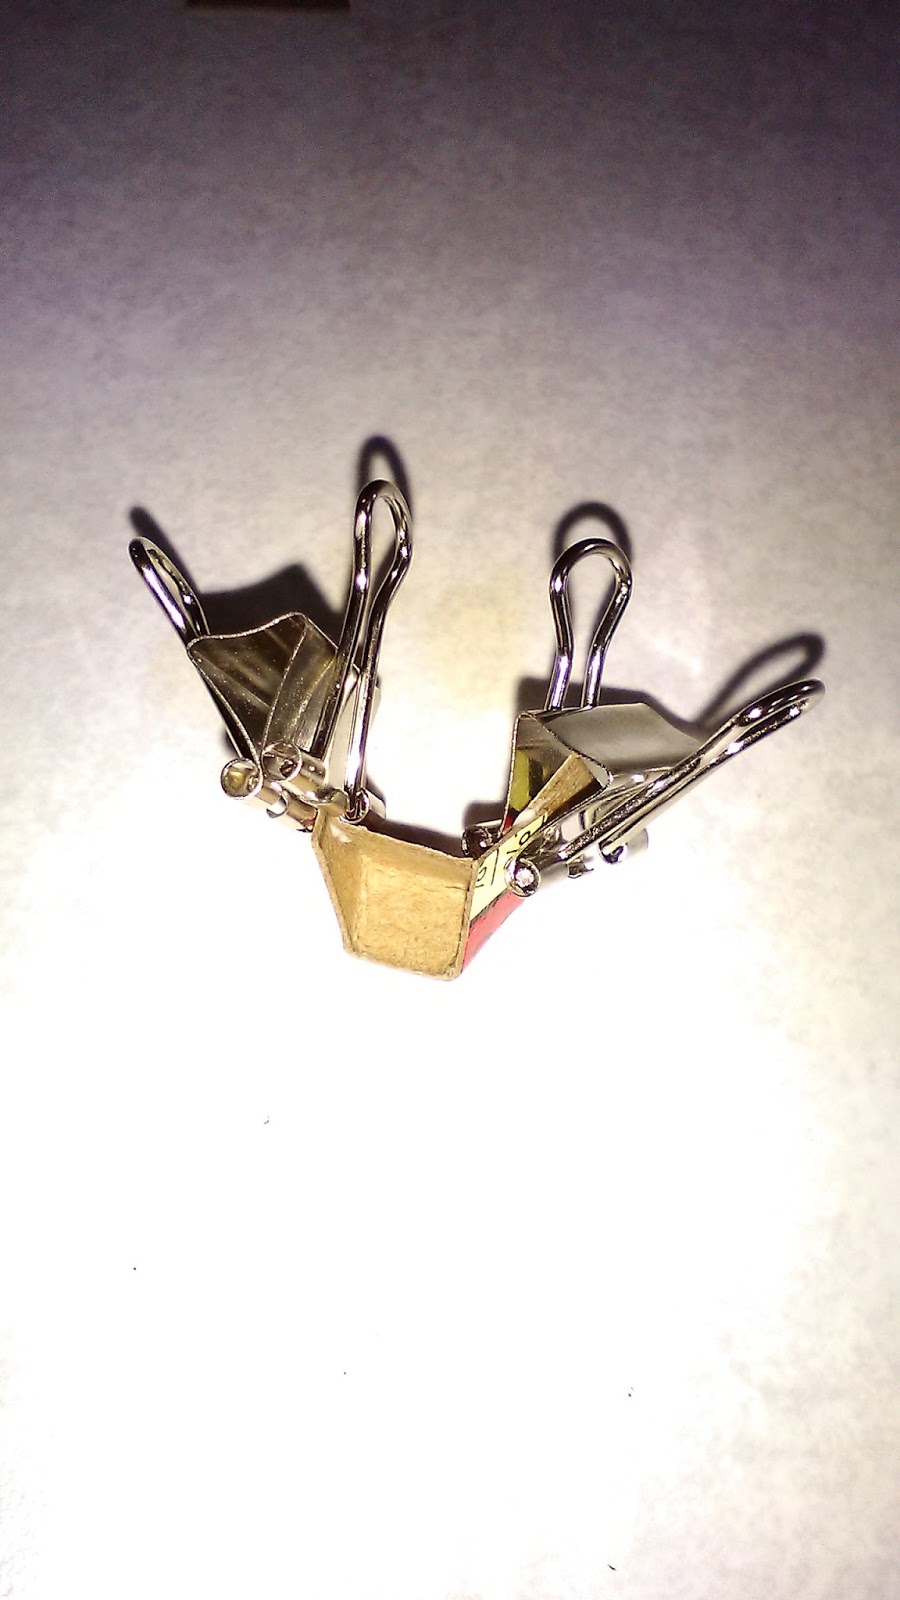

8. Glue the cups to the post at heights of 3cm, 6cm, and 9cm on both posts.

9. Now is the time to paint everything if you didn't at the start!