Tuesday, December 17, 2019

Season of Giving

I've been trying to find a good way to keep track of some of my favorite thingiverse print files. If you don't know, thingiverse is a website full of free (FREE!) .stl files for 3D printing. And a lot of them can be scaled for our breyers! As it is the Christmas season, I'm going to leave you with a decently extensive list although I definitely recommend looking for stuff like this on the website, just search furniture or dollhouse.


Horse Stuff


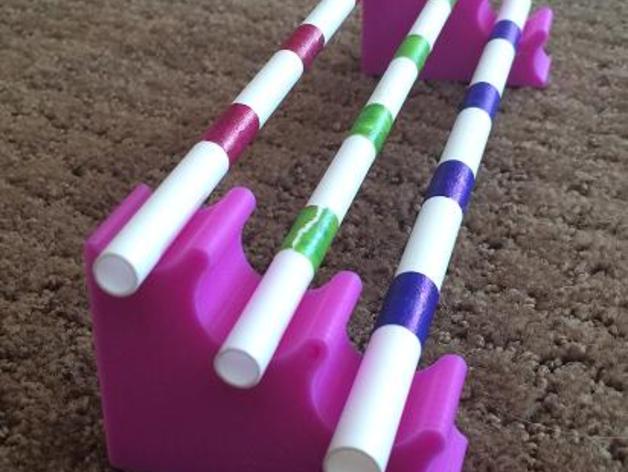
Jumps https://www.thingiverse.com/thing:463532

Buckets (I have my own file but these are good ones too) https://www.thingiverse.com/thing:504388


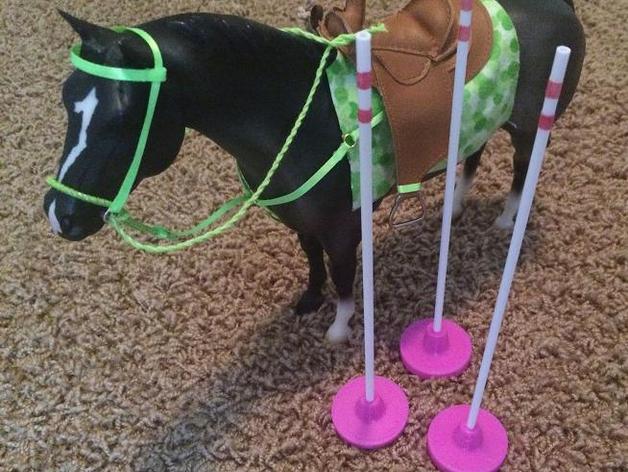
Pole Bases https://www.thingiverse.com/thing:568388

Jump Cups ( Again, my version is a bit different) https://www.thingiverse.com/thing:617222

Barrel https://www.thingiverse.com/thing:568364


Furniture ( in case you want barn decor/ tack room/ office)

 Ikea style shelves https://www.thingiverse.com/thing:3801792


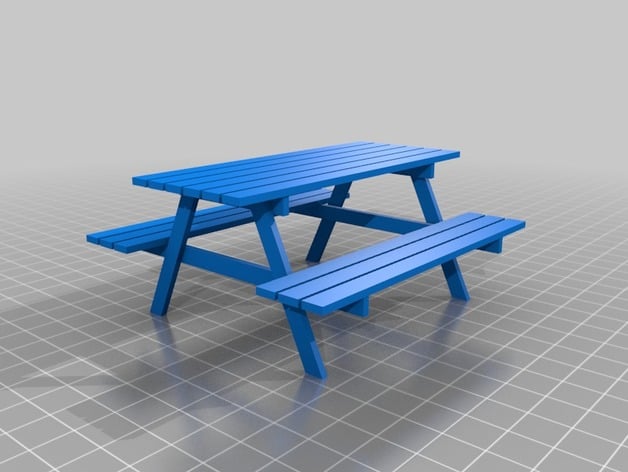
Picnic Table https://www.thingiverse.com/thing:3406302


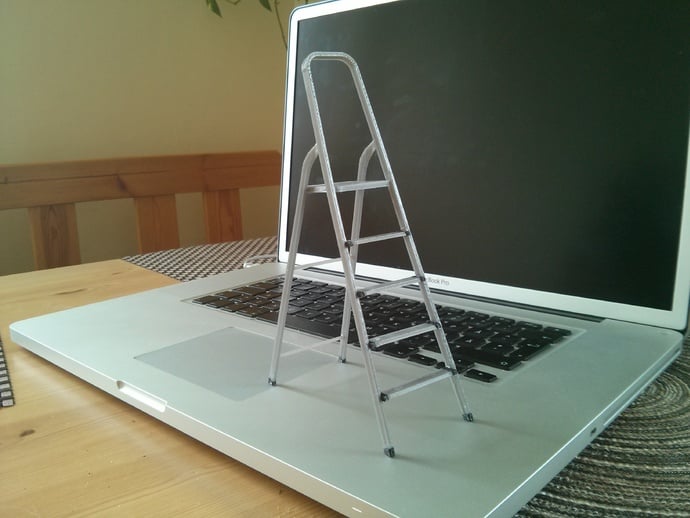
Ladder https://www.thingiverse.com/thing:84783

Dishes/ Pottery https://www.thingiverse.com/thing:1634109

Disclaimer, These are not my pictures, they are the pictures that are with the files. I did not design any of these. Some are creative commons so if you give the artist credit you can sell them but many are not. All thingiverse files will tell you if you can use them commercially. If you have access to a 3D printer give some of these a try!

Monday, December 9, 2019

Bow Making

Tis the season and you can bet those super fancy bows would be nice for wreaths or presents or whatever else needs a nice sparkly bow. But why shell out $10 dollars a pop when you could get ribbon and pipe cleaners for half that and make a bunch of bows?

Making Fancy Bows


I got some shiny pipe cleaners but you could also use plain wire or florist wire.

Next you need some ribbon, I really prefer the stuff with the wires because it stays a lot nicer. For anyone looking to make tiny bows for breyers, yes this will work with very thin ribbons too.


Pull out a bit and fold, leaving some at the end for the tail.


Next, twist the ribbon 180 to form a loop. This is where the wired ribbon shines.


Make another loop on the opposite side and then twist.


It's already a bow!!!!


You can now go back to the other side, form a loop and twist. Repeat until you have the desired amount of loops.


Use the pipe cleaner (or wire) to keep the bow together.


Then you can fluff out your loop to get the look you want.


I like putting smaller complimentary bows inside of my big bows. Another cool method is to make the bow with two ribbons simultaneously.


Enjoy Decking the Stalls with lots of pretty ribbons! And finally a picture of Gustavo.


Sunday, December 8, 2019

Shop Updates and Planned Down Time

I'm finished with my last 2 late orders and they will ship Monday. My etsy shop will be going down this Thursday, Dec. 12 and should reopen January 6th of the new year. All orders placed by Thursday will ship in prior to the USPS Christmas deadline of Dec. 20.

Tuesday, December 3, 2019

Apologies, but I'm sick

I'm sorry for the delay on all the etsy orders I've recieved over the past week. Thanksgiving is a day to give thanks and share. Ironically, much like the smallpox laced blankets that were handed out at the first thanksgiving, my family too decided to share germs.... So I've got a nasty cold. I'm pushing through orders but it may take a bit. I'm sorry if your order is a bit late and I'm trying my best. Thanks to everyone for your patience and I sincerely hope all your goodies are worth the wait.

Saturday, November 30, 2019

DIY Breyer Stall Part 2: Cut and Assemble-ish

I've finally stopped stalling on this (pun intended) and I went to the garage with the hacksaw my father suggested and I discovered two things. Number 1, I still suck at woodworking and tool related hobbies and Number 2 I should not always trust my dad's recommendations.

If you are cutting your wood, do not use one of these.


It will not cut all the way and even if you work at the board from both sides you will have an unfortunate inch in the middle that will need to be broken or cut with a different method. Also I could not get it to hold tension so some of my lines were really crooked. But still I endeavored.


Once everything was cut, I went to town with the sand paper to smooth the edges. I highly recommend this step.


Next up I pulled out my trusty wood glue.


Assembly:
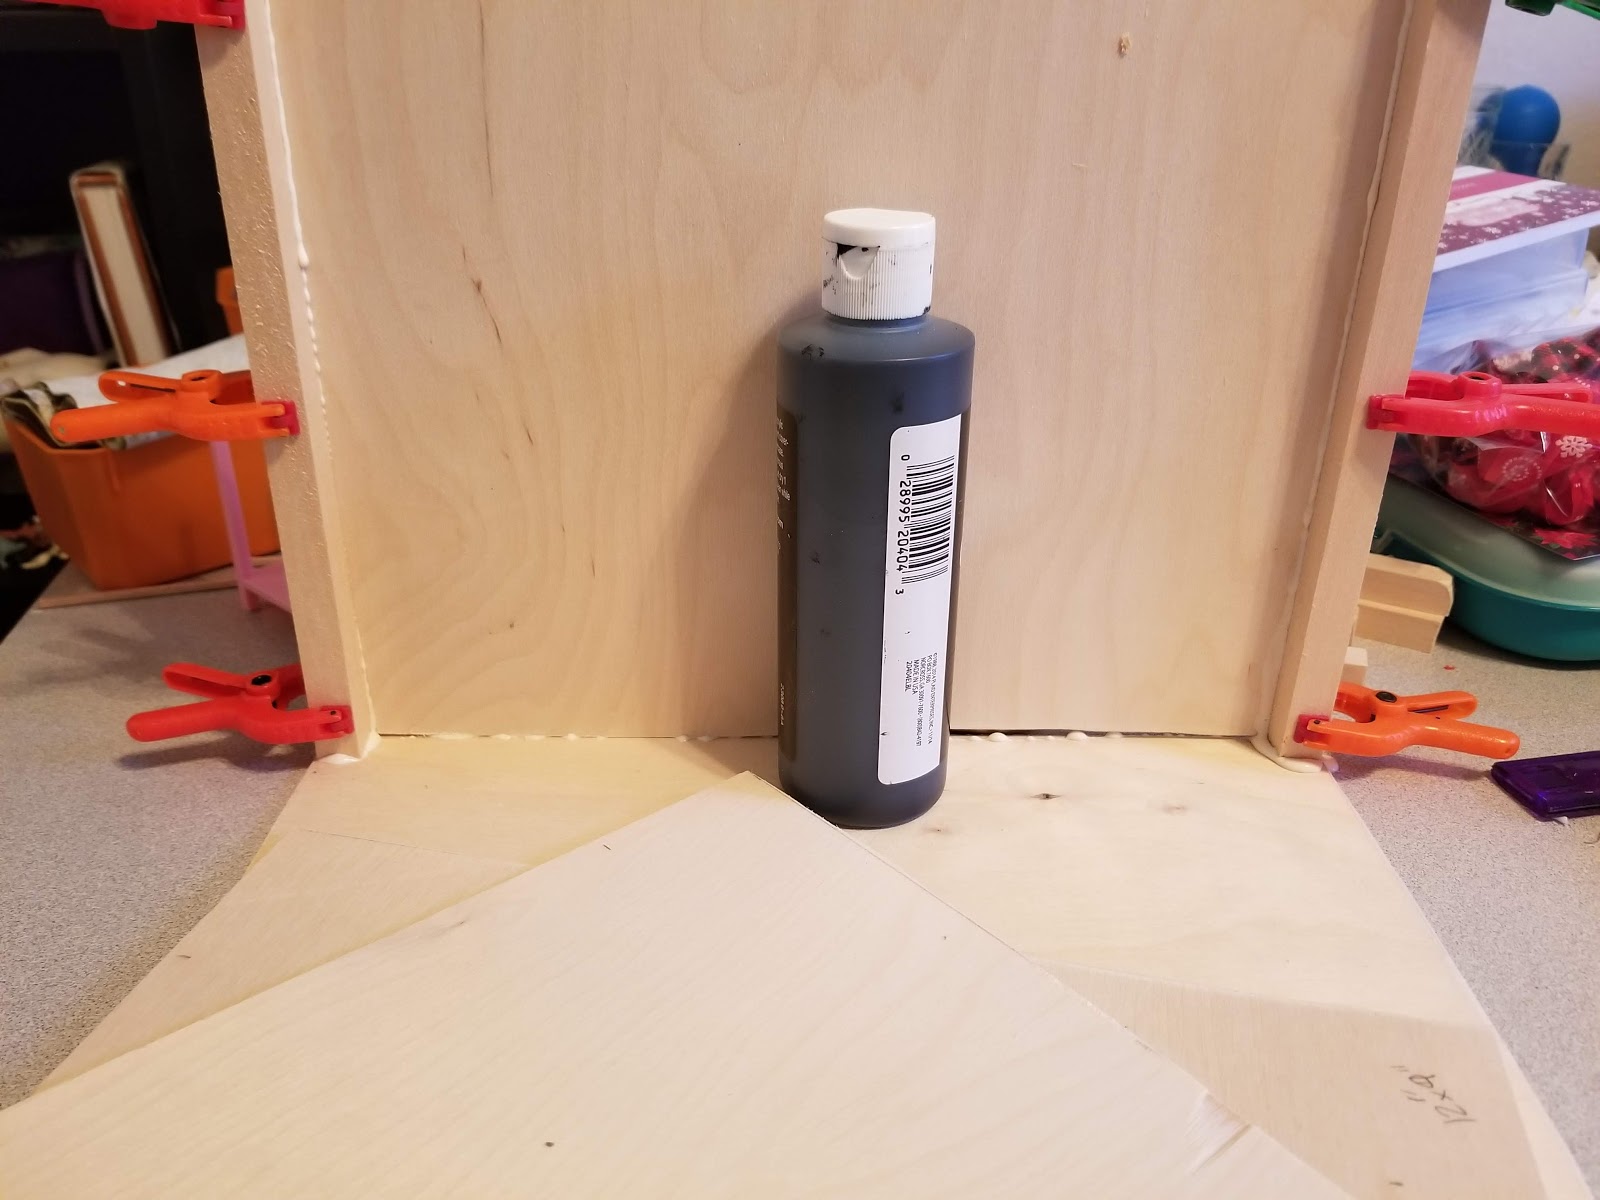
Step 1: Glue a pillar on each side of the back board in the stall and clamp them. Then I glued the posts to the base and used a bottle on each side to hold it up.


Step 2: Glue pillars to the side and then glue it to the back wall. Repeat for the other side.


To hold the pillars in place and push them down I ended up using a few household objects. I'm sure a more experienced wood crafter would have a more efficient way but I solved the problem.


Step 3: Glue on the front of the stall and the pillar support for that.


Step 4 is locate some tiny hinges. Because I forgot to get some. Luckily, Cupcake is well behaved enough to stay in the stall. :P


Lessons learned:

1. Get a bigger hacksaw/ a normal saw/ use a band saw.

2. Apparently if I had pre-scoured my wood, things wouldn't be as crooked.

3. Instead of using the wood sheets, I could have gotten the thin shims and just built the walls board by board. It would probably look a bit better even if it would be time consuming. I've honestly seen stalls built both ways.

4. Any mechanical engineers you may be co-habitating with will frown at it excessively. Fortunately he's agreed to help with version 2 which will probably not be started until well into January so stay tuned for the DIY Fancy Stall edition.
Friday, November 15, 2019

DIY Breyer Stall Part 1: Planning the stall

I don't have a barn. Or a stall. All my life I have always wanted a breyer barn. I've simplified that down to just a stall, something I can reasonably do. And because we're heading into the season of giving, I'm going to do this as a tutorial, just in case anyone else really wants a stall too.


Not a pretty plan, but it is a plan.


Supply List:
-12 in x 12 in piece for bottom
-3 (12 in x 9 in pieces) for sides and back
- 8 in x 5 in piece for front wall
- 4 in x 5 in piece for door
- 1/2 in dowels for corner posts.
-Wood glue
-Tiny hinges

*Supply list may change as this project progresses... sorry.

Upgrading a Wreath, horse girl style