If you are cutting your wood, do not use one of these.

It will not cut all the way and even if you work at the board from both sides you will have an unfortunate inch in the middle that will need to be broken or cut with a different method. Also I could not get it to hold tension so some of my lines were really crooked. But still I endeavored.


Once everything was cut, I went to town with the sand paper to smooth the edges. I highly recommend this step.


Next up I pulled out my trusty wood glue.

Assembly:
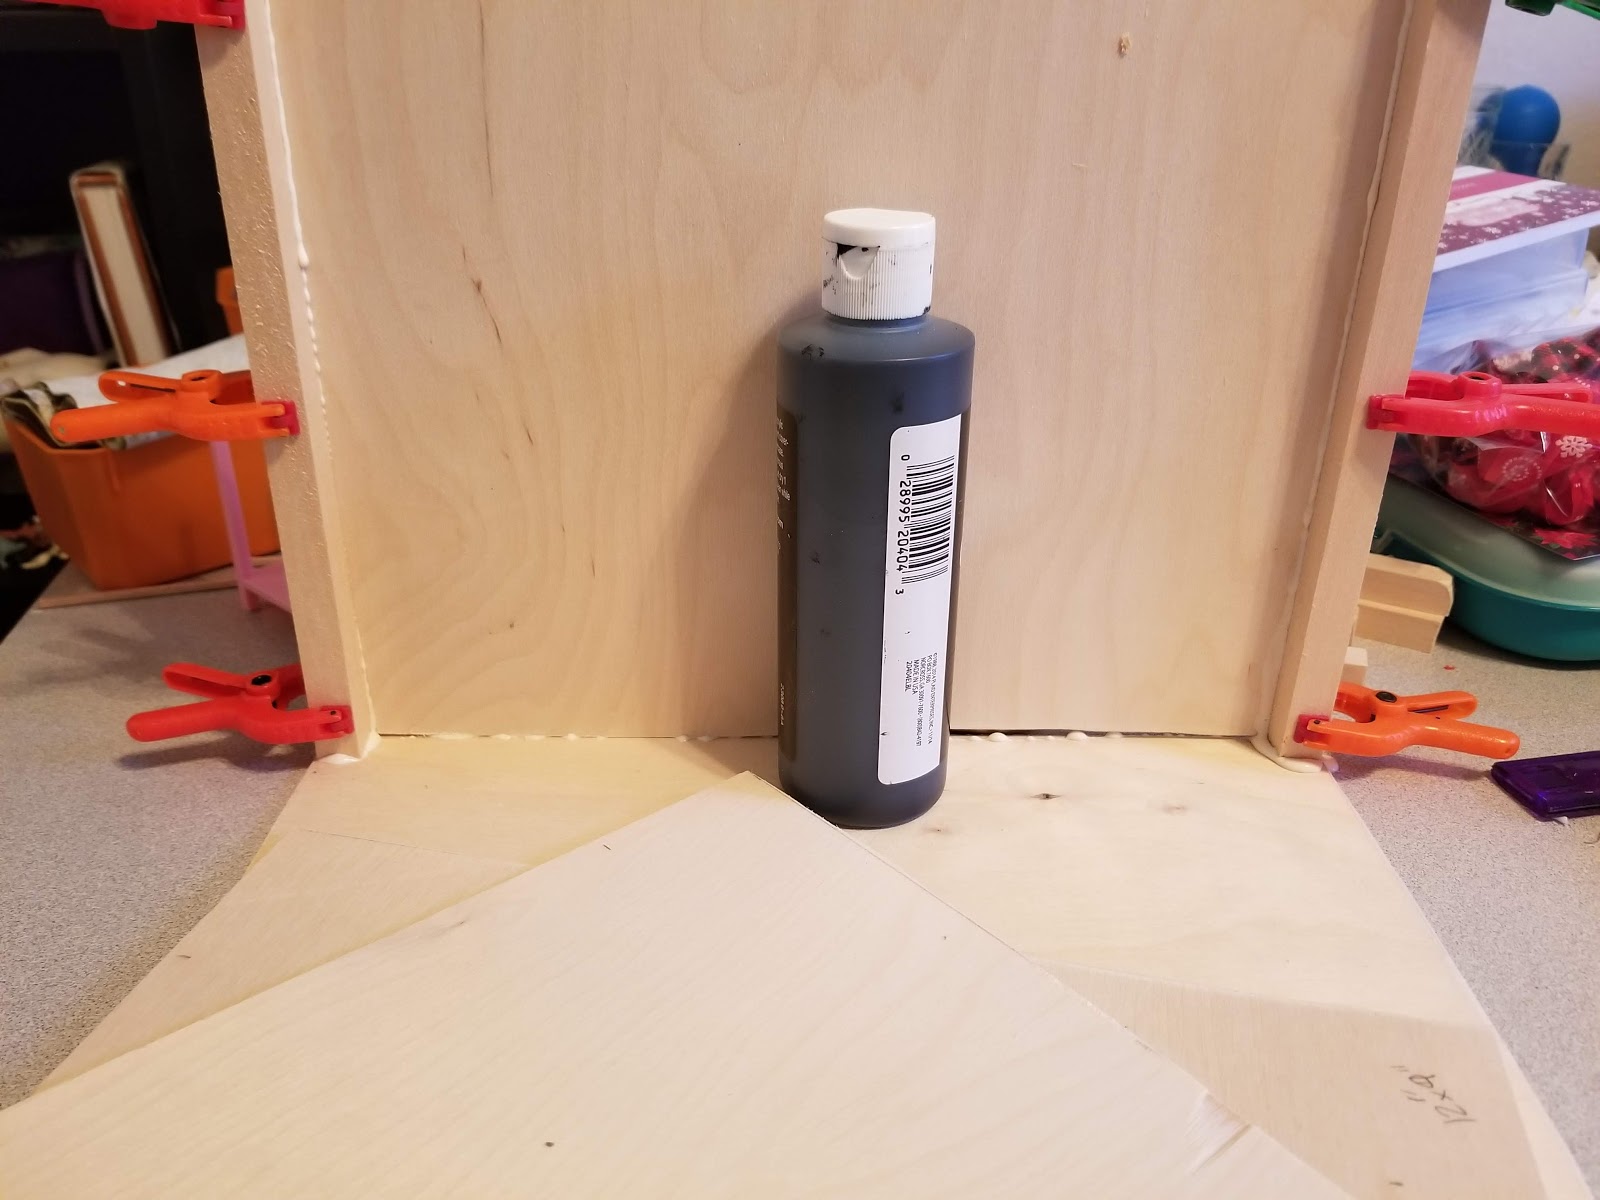
Step 1: Glue a pillar on each side of the back board in the stall and clamp them. Then I glued the posts to the base and used a bottle on each side to hold it up.
Step 2: Glue pillars to the side and then glue it to the back wall. Repeat for the other side.

To hold the pillars in place and push them down I ended up using a few household objects. I'm sure a more experienced wood crafter would have a more efficient way but I solved the problem.

Step 3: Glue on the front of the stall and the pillar support for that.

Step 4 is locate some tiny hinges. Because I forgot to get some. Luckily, Cupcake is well behaved enough to stay in the stall. :P
Lessons learned:
1. Get a bigger hacksaw/ a normal saw/ use a band saw.
2. Apparently if I had pre-scoured my wood, things wouldn't be as crooked.
3. Instead of using the wood sheets, I could have gotten the thin shims and just built the walls board by board. It would probably look a bit better even if it would be time consuming. I've honestly seen stalls built both ways.
4. Any mechanical engineers you may be co-habitating with will frown at it excessively. Fortunately he's agreed to help with version 2 which will probably not be started until well into January so stay tuned for the DIY Fancy Stall edition.


No comments:
Post a Comment