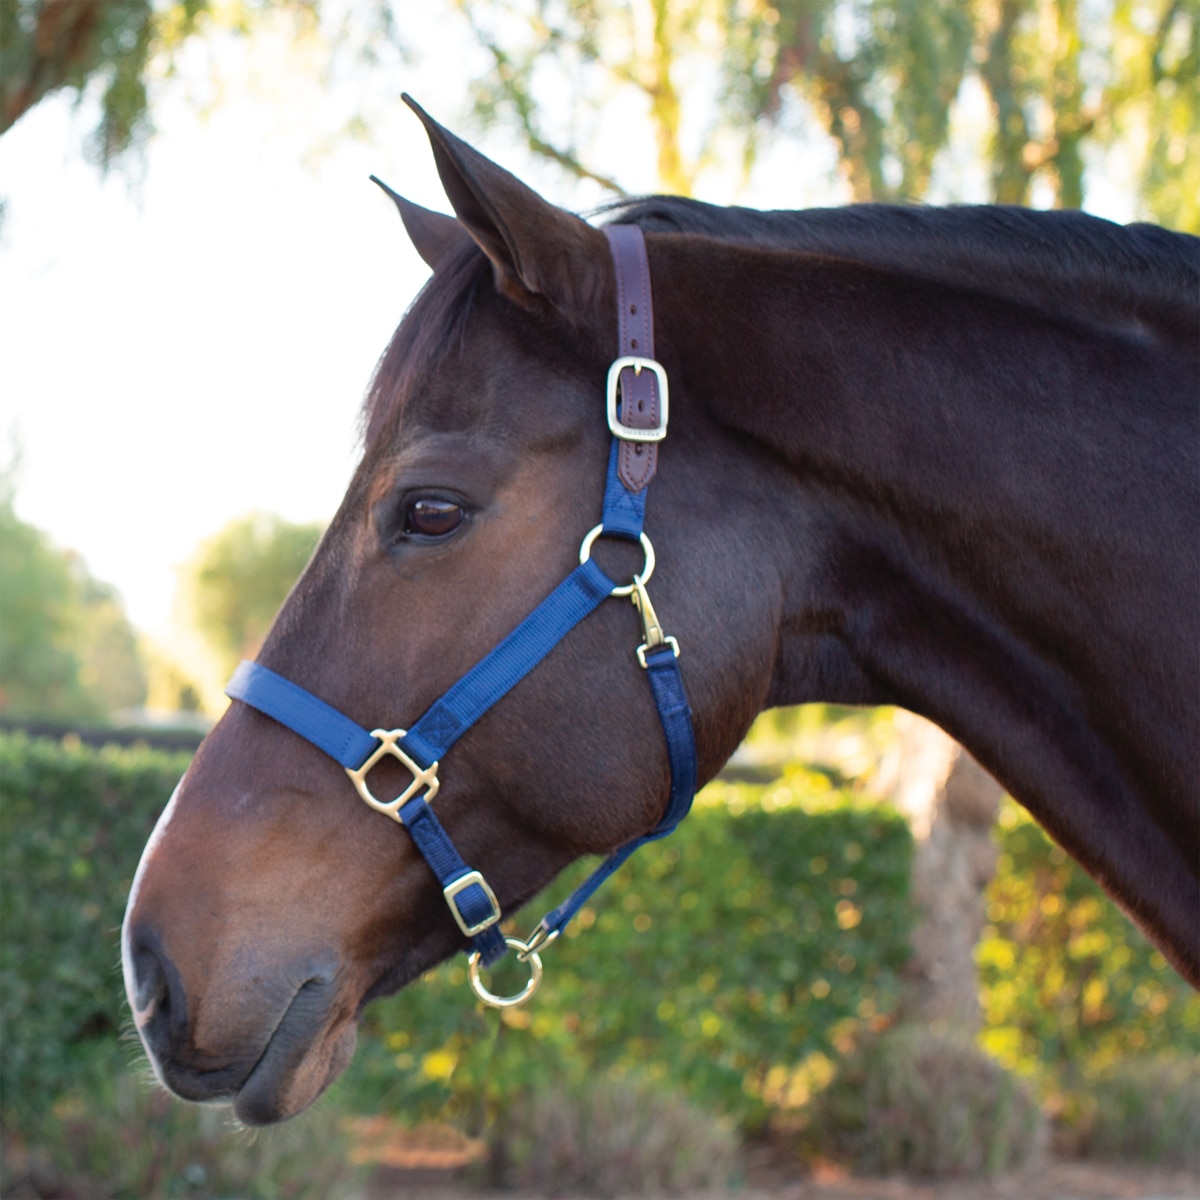
Supplies
- Ribbon 1/8 inch preferably ribbed or grosgrain
- jump rings 6 mm and 4 mm jump rings
- Buckles I like B5
- You can make buckles with wire but it's a bit more difficult
- Halter rings I use HD30s
- You can use 6 mm rings for this part, it just doesn't look as nice
- Lead rope hooks I use HD2s
- You can also use lobster clasps if they are really small
- Embroidery Floss
- Tacky Glue
- Clamps of some form
- Model horse to test it on
Directions
Refer to these as reference:


1. Measure a piece across the top of the nose. It should be long enough to touch both corners of the mouth. Give it a little extra to fold over as tabs. Then put it into the halter rings as shown (you can substitute jump rings for halter rings).
2. Measure out the cheek pieces so that they are between the corner of the mouth and under the ear. Put one end in the top halter ring slot.
3. Put jump rings on the other end of each cheek piece as shown.
4. Next attach a long piece to the left back jump ring as shown. Make sure the piece is long enough to go behind the horses ears and reach the other jump ring.
5. Cut a short piece of ribbon glue on buckle as shown.
6. Glue the other end around the right back jump ring as shown. You can slip the long strap through the buckle and try it on.
7. Interlink two jump rings (4mm preferably). Measure and cut out the bottom nose strap so that the halter will fit. It is better to be a little bigger than too small. Put the ribbon through one of the jump rings.
8. Put one end of the strap through the 3rd halter slot as shown.
9. Bring the bottom of the noseband around so that the side of the glue flaps faces the inside and put though the last halter slot.
10. Measure out a throat latch. Glue into the bottoms of the back jump rings as shown.
11. Measure out the connecting strap leaving a lot of slack. Glue one end through the empty interlocked ring. Glue the other end around the throatlatch so that it can slide as shown. And there you have it, a fancy new halter.


No comments:
Post a Comment