Tuesday, November 27, 2018

DIY Model Horse Rope Halters

Yes, I am still procrastinating on getting stuff done but luckily some good has come out of it so I present you with another tutorial.

This is my adaptation of a tutorial I found on another blog:http://timestableandstudio.blogspot.com/2013/08/how-to-tie-rope-halter.html All credit goes to the author, I'm just giving my newer form of the instructions with a few comments. All the pictures added come from me trying out the tutorial. 

I’m using a thin yarn to make it easier to see however I normally use embroidery floss to get a lot of fun colors!

You will need:
  • Scissors
  • Ruler (with cm)
  • Yarn/ string/ thin nylon cording/ embroidery floss/etc.

Instructions:

1. Measure and cut out 80 cm of string


2.  Make one end 8.9 cm longer than the other


3. Tie a different colored string in a knot at the end of the loop


4. With the model facing towards you and the different colored string centered on the horse’s nose put the longer length to the right.


5. Tie a knot on the left side along the jaw as shown in picture. Do not make the knot super tight; you will need it loose later.


6. Make a similarly loose matching knot on the left side.


7. Next make a loop knot with both strings together. I use a pencil to make sure I don’t lose my knot. Make sure the knot is tight and the nose band fits over your horse’s nose. This is a good time to remove the piece of different colored string.

8. Next knot the two strings together about halfway under the jawbone as shown.


9. Take the longer piece of string and make a loop knot about even with the eyes in the middle of the horse’s cheek.


10. Bring the end of that piece of yarn through the first of the nose knots. Say that three times fast (Nose knots, nose knots, nose knots). Admit it you tried that too.


11. Tighten that knot and then repeat with the second knot.


12. Now find that shorter string that you probably forgot about and knot it with the longer string at about the same height as the loop on the other cheek like so à


13. Bring both of your strings over and put both through the cheek loop. Tie a slip knot and cut the leftover strings to your desired length!


Have fun!!!

Wednesday, November 7, 2018

DIY Crochet Umbreon

Hello!
Today I have a great crochet pattern to share! It's free and it comes from one of the greatest sources for pokemon related crochet stuff ever! If you hadn't guessed, I'm a super nerd. But that's okay because as Hardson from one of my favorite tv shows of all time, Leverage, would say, "Age of the Geek." So without further ado, find the pattern here: http://wolfdreamer-oth.blogspot.com/2010/08/umbreon-plushie.html. All credits go to the author of the pattern.


I made one alteration in that I crocheted the eyes.

G hook or whatever works best for you to get the desired look.

In black
 1. Magic ring
2. 6 sc in magic ring join with sl to first chain

In red
3. Chain 1, sc in next stitch, 2 sc in next stitch, sc in next stitch, hdc in next stitch, dc in next stitch, hdc in last stitch, join and finish off leaving a long enough string to sew on.

In white
4. Sew on to look like pupil-thingy that umbreon has...

(Obligatory picture of mess made while designing this below..)


Tuesday, October 30, 2018

DIY Making Ground Poles and Jumps

I'm really enjoying making these little tutorials so this is a bit more elaborate one than the blankets. The first part is making the poles which can be used as jump bars or as ground poles and is a pretty quick project. The second part is a bit more tricky but I've tried to simplify it as best as I could and provide good step by step instructions. Some of these may actually end up in my etsy shop. Also If you are a kid, make sure a parent helps you cut the wood for these.

Making the Ground Poles

   Supplies
  • 4 8” x 3/16” lengths of dowel rod
  • painters tape
  • 2 coordinating paint colors
  • paintbrushes
  • cup of water to clean paint brushes
  • And a horse of course!

    Instructions

1. Cut the dowel rod/ have a parent cut the dowel rod into the specified sizes
2. Paint the entire dowel rod with the base color.
3. Let paint dry.
4. Wrap painters tape around dowel in 1.5” intervals  starting from both ends
5. Paint the dowel with 2nd color.
6. Let it dry.
7. Remove tape and make sure that paint didn’t seep under.
8. Fix up any seepage spaces.


I found the instructions for making the jump stand here: (https://www.breyerhorses.com/index.php?pageId=635) and I've made a few alterations and added a lot of pictures to follow along with.

Building a Traditional Sized Jump

Supplies
  • 3/8” Square wooden dowel (4 cut to length of 6” and 4 to length of 1.5”)
  • 5/16” wooden dowels (3 cut to length of 10”)
  • Popsicle sticks
  • 1/2" x 1" cardboard strips (6 of these)
  • Paint
  • Paintbrushes
  • Tacky glue
  • Legos for straight edges and measuring
  • A model horse for sizing

Instructions
1. Cut out all the pieces of wood to their necessary lengths. If you are a kid make sure to have adult supervision.

2. You can paint all of the pieces now or wait until the end when it is assembled. Either time works
3. Take two of the long square dowels and two short square dowel pieces. Using a lego as a straight edge, glue the short dowels between the two longer dowels approximately 1 inch from each end. Make sure the long dowels are even. See picture below:


4. Repeat step 3 with the remaining square dowel rods.
5. Next we will make the cups. Cut 6 small rectangles from the cardboard ½”x1”. Next make the cuts shown in the picture with the middle being the width of the jump post. he pictures will be a better guide than my explanation. 


6. Then bend into thirds with the top tabs folded backwards and the bottom tabs folded upwards.


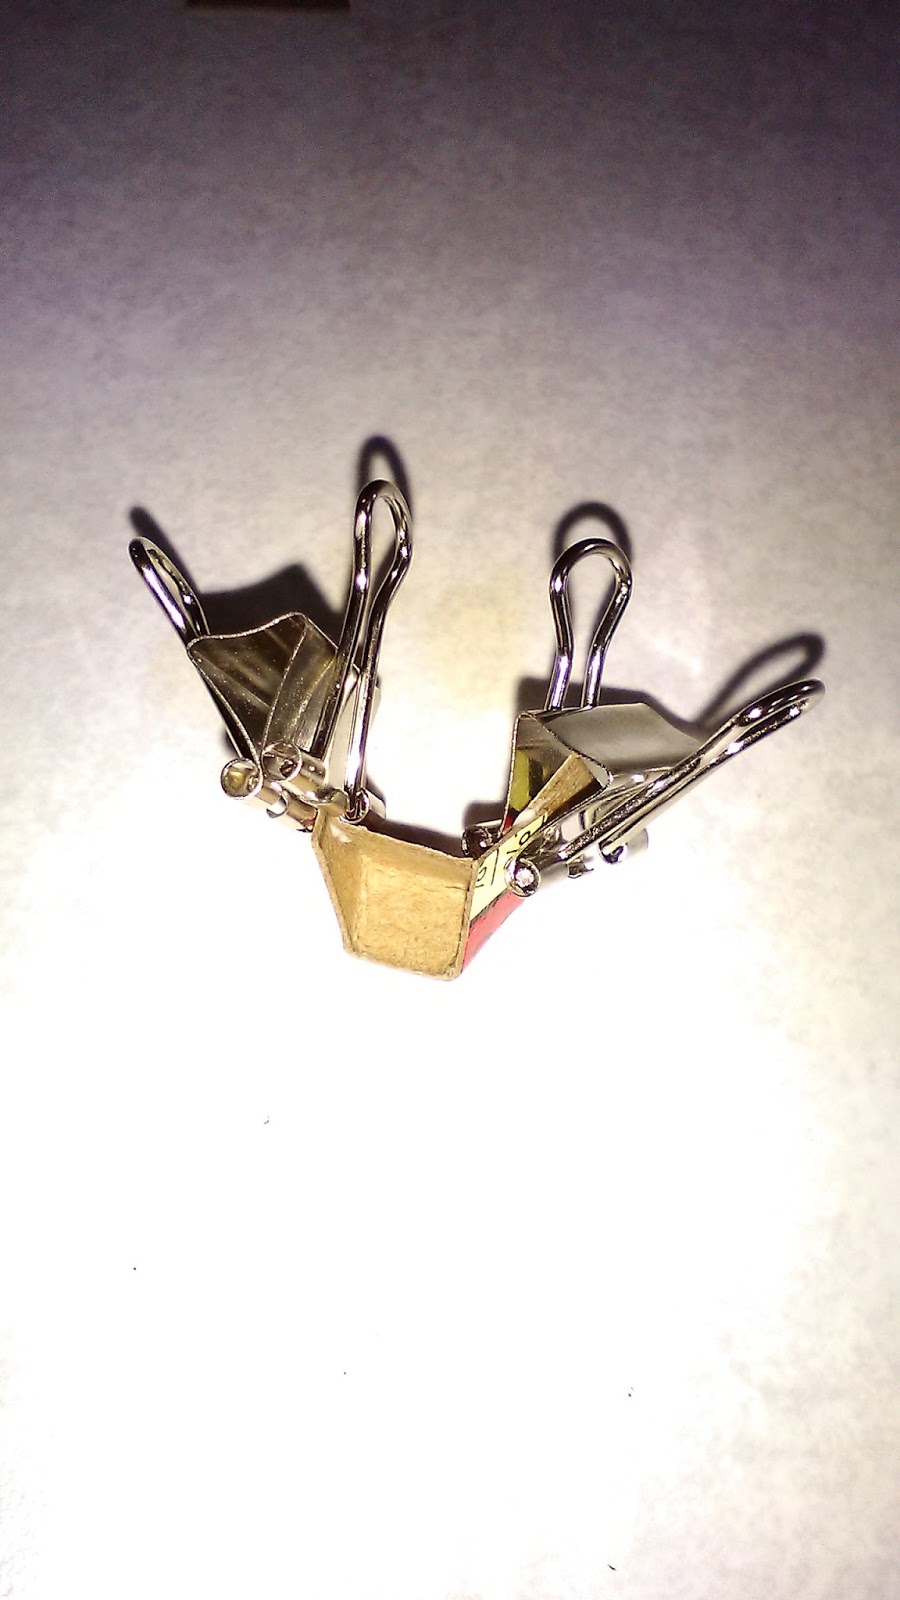
7. Glue the bottom tabs to the top tabs to form the shape below. This will make a cup.

8. Glue the cups to the post at heights of 3cm, 6cm, and 9cm on both posts.


9. Now is the time to paint everything if you didn't at the start! 


Thursday, October 25, 2018

DIY Model Horse Blankets (Basic)

This probably won't end up in my etsy shop but I've decided to add tutorials as I go along as well. One of my major passions in the model horse hobby is sharing skills and information. I enjoy teaching people how to do things and make things which I have been consistently doing for my local 4H horse project for several years. So expect a few of these mini-tutorials in the interim between things being made for my shop. Thanks for visiting and I hope you enjoy!

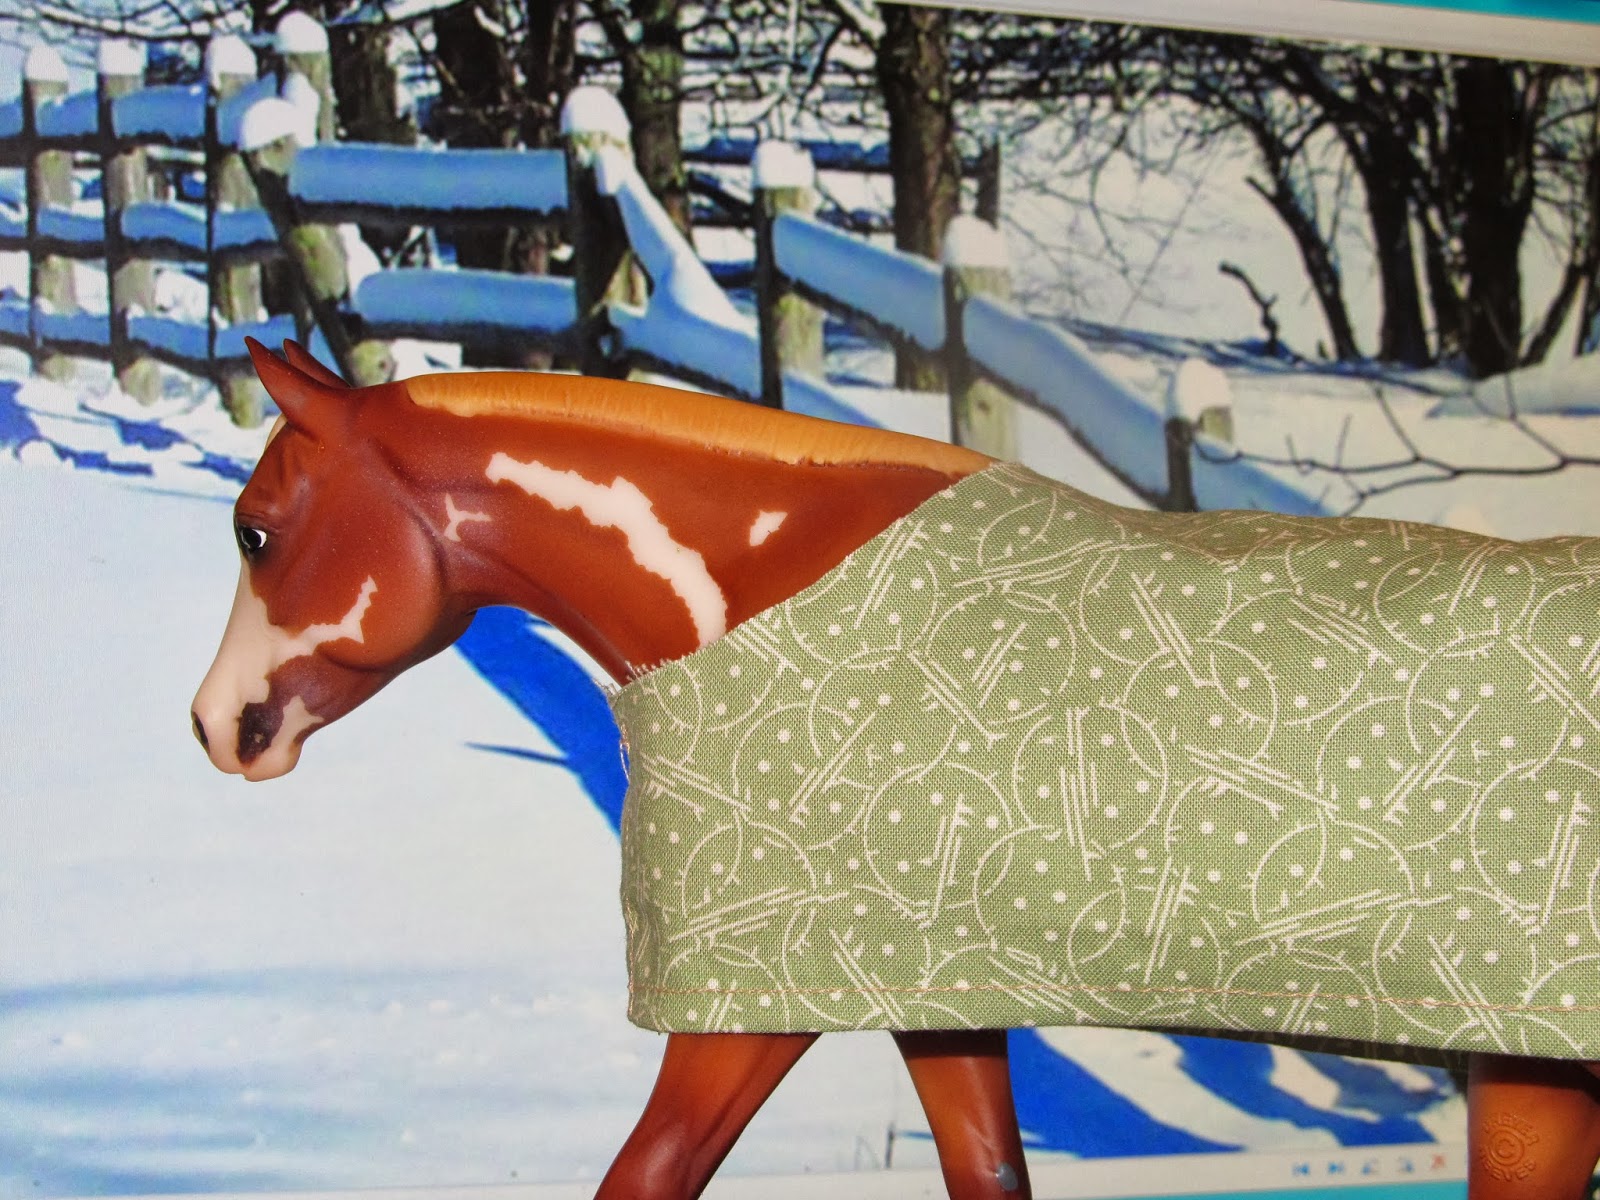
You may notice it's getting cold outside...unless you live somewhere nice and warm right now...or are in the southern hemisphere...but for everyone else it's getting cold. And the snow will be here pretty soon... but in the house the only snow you have to worry about is the fake kind... oh and dust. Which is why some nice blankets are great for your herd, not only can they keep them nice and toasty they also protect from scratches and rubs. These blankets are simple enough that they can be done by hand or with a machine. I used plain fabric so I needed to hem the edges but if you use felt or fleece that won't be necessary. Actually in hindsight, felt or fleece would be better materials.


1) Take a 8 inch by 8 inch square and fold it in half.


2) Hem the corners if you want... It does make it look a little more put together. This step, as mentioned earlier, is not as necessary with felt or fleece.

3) Cut out the pattern above, checking its fit on your horse.

4) In the front sew the two flaps together to make a neck hole.

5) Tada... Its done... or is it?

Have some fun, add straps, borders, whatever you like!


The completed project with some fun fabrics...
Max doing some modeling!

And Valentine staying warm as well with her floral blanket!

Have Fun!

Tuesday, September 4, 2018

Hello World!!!!

Welcome to my blog!

This is my very first blog post here so I am super excited! This blog will be dedicated to following the shenanegans that occur along the way of making my etsy projects. There will also be lots of tips and tutorials because inspiring and helping others is the best way to give back to those that have helped and inspired me!

My passions at the moment are crocheting, making itty bitty tack for model horses, and soapmaking which I will be the first to admit is a very wide array! I can't promise that I'll stick to just those, I'm also a huge baking addict although none of these creations will be on my Etsy shop, if the recipe is good it might turn up here too! And any other crafts? Hmm well I know quite a bit about paint so painting might not be out of the running either.... Stay tuned for more!

Thank you for joining me on my crafty journey and please check out my Etsy shop, HandcraftedByKari!

Upgrading a Wreath, horse girl style