I have always loved horse blankets. One of the best things about this hobby is that there are few things that prevent you from making really cool ones. Real blankets need lots of fabric and to be weatherproof and durable. The only limits for model horse blankets are pattern size, imagination, ... and sewing skills. Thanks to this lovely pandemic, I've outfitted a lot of people with masks and all that practice has really upped my nonexistent sewing skills!


It just doesn't quite touch.... That's one of the only big blunders. The only other big issue is how wavy my stitching is although it does match the bias tape and it didn't go off the bias tape, just not as exact as I'd like it to be.
But I figured the best way to learn is with practice so I'll keep trying. In the meantime, I figured there's no harm in going through the process to make this one.
Supplies:
- Fabric
- White felt
- Rio rondo buckles (#B5)
- Rio rondo blanket clasps (#HD825)
- 1/4" black grosgrain ribbon (Hobby lobby or hairbowcenter)
- 1/8" black grosgrain ribbon (Joanns or hairbowcenter)
- 1/4" bias tape (black)
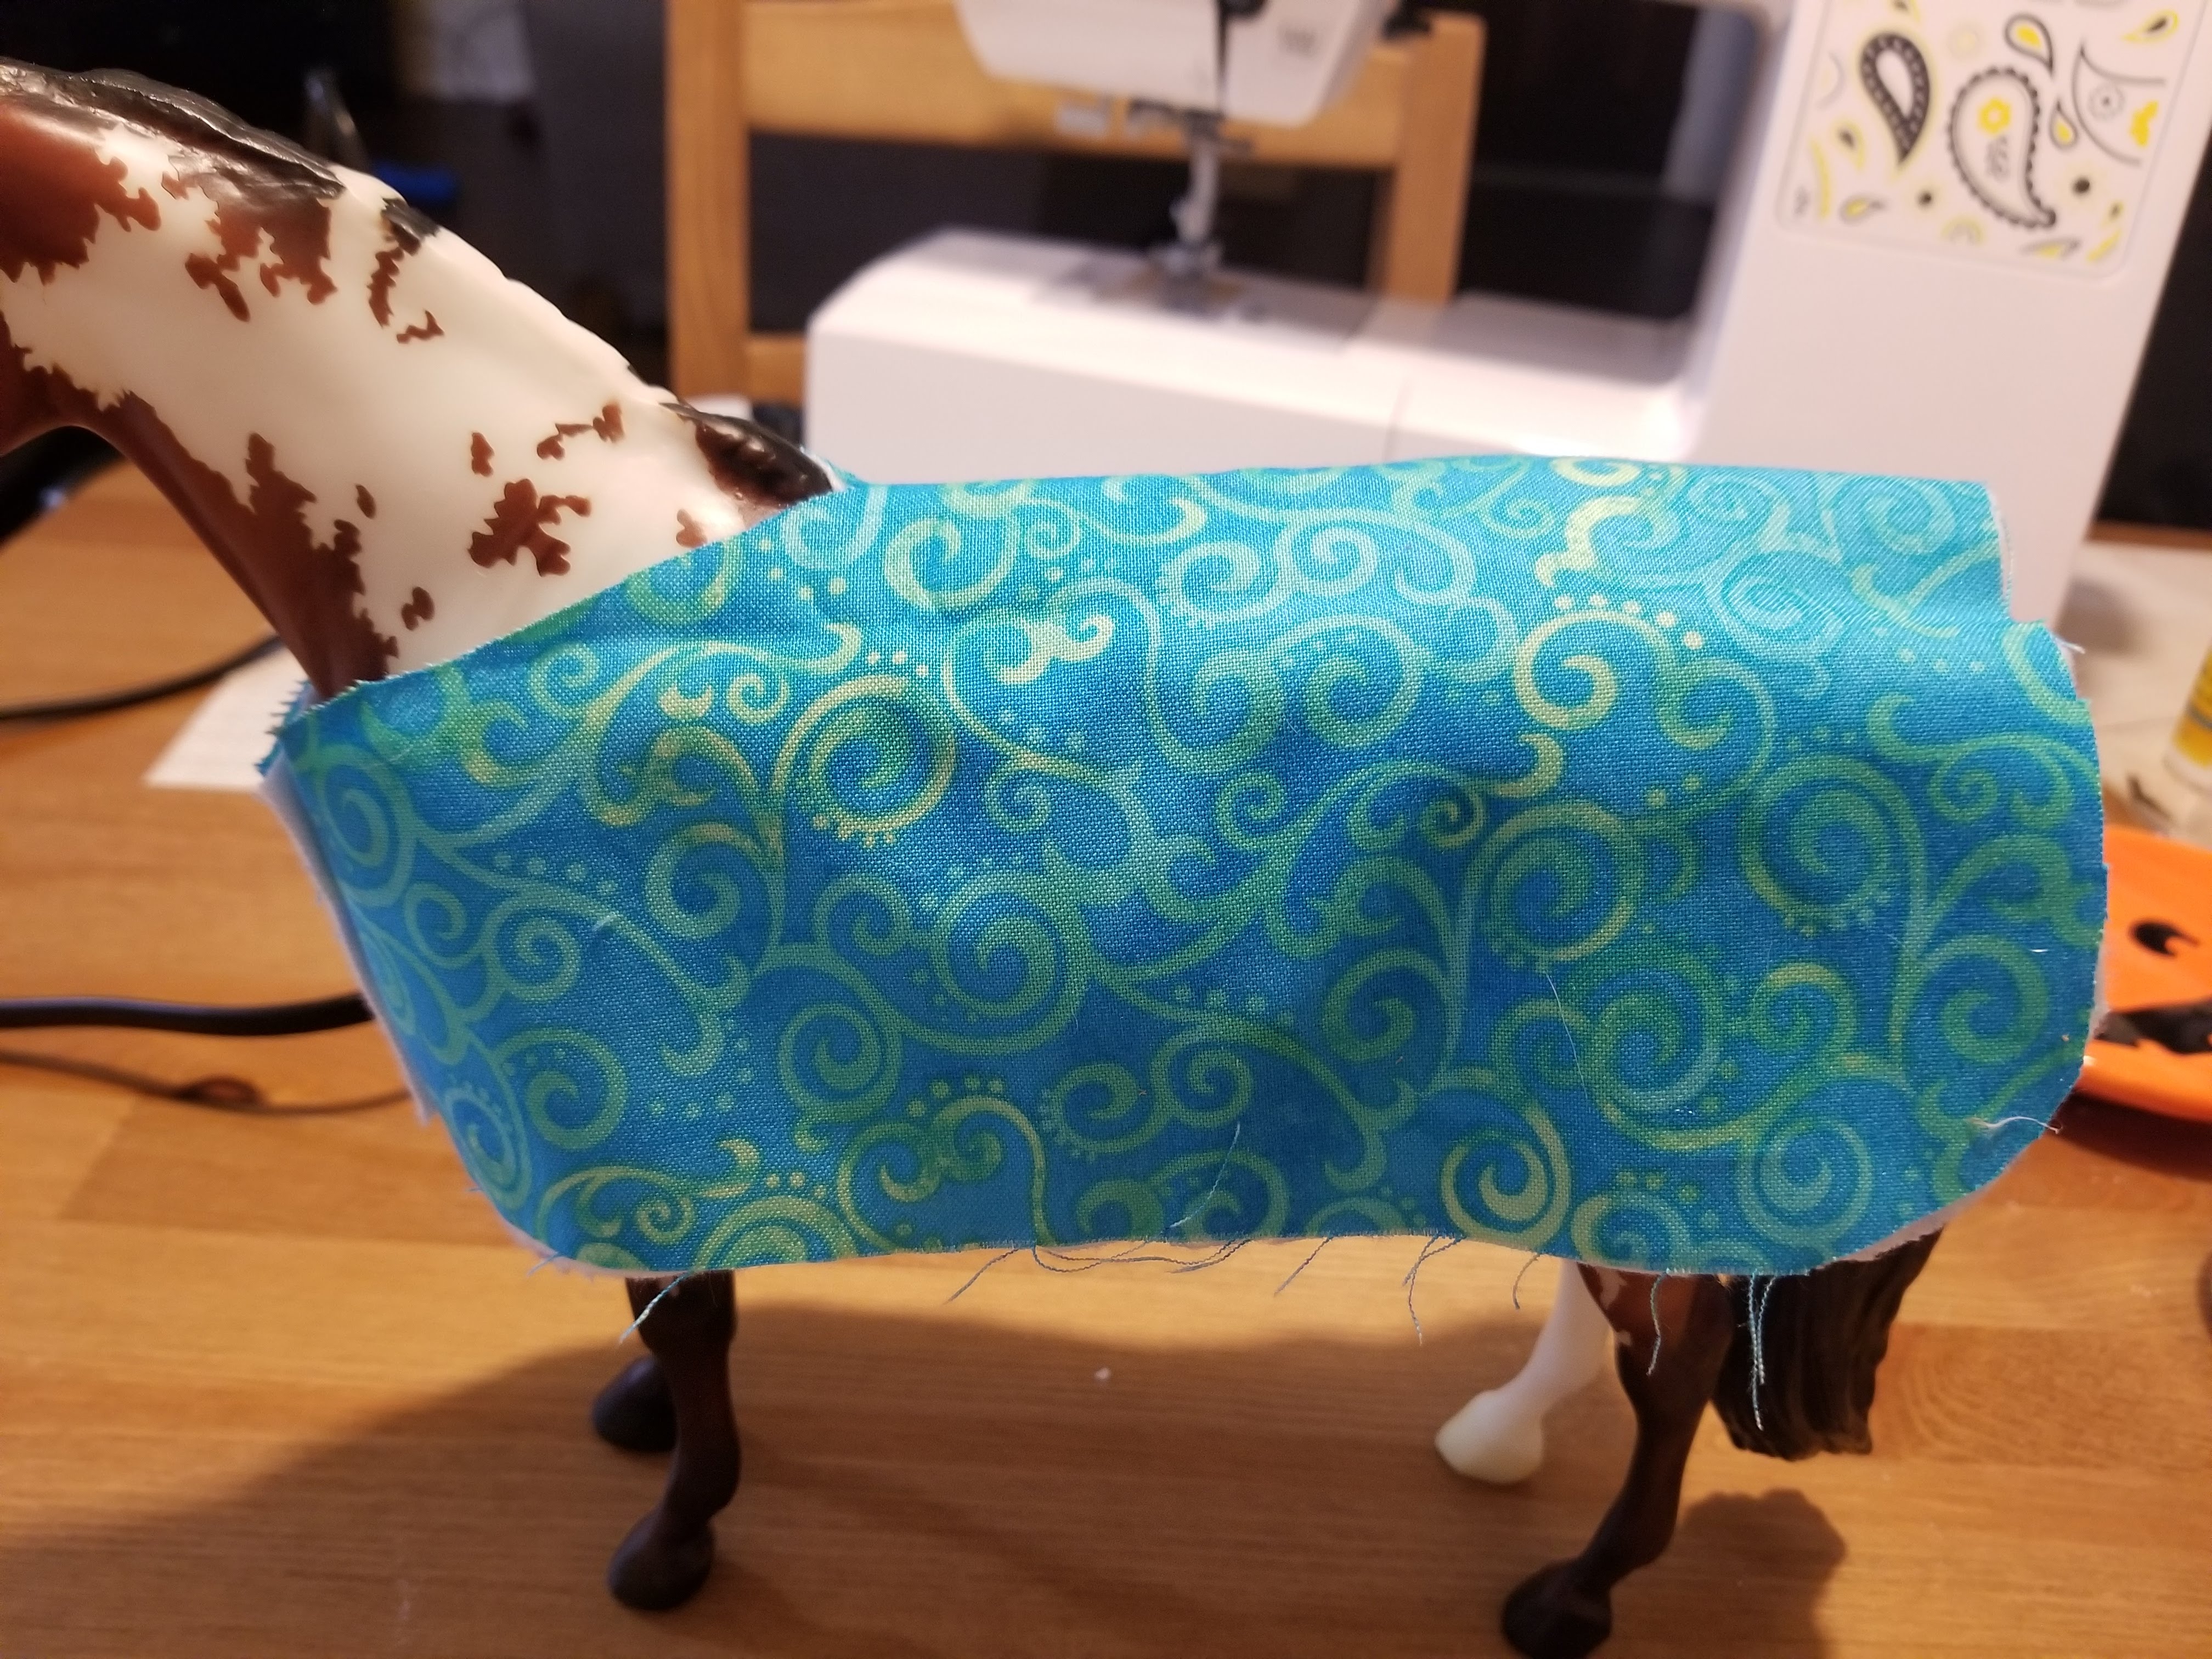
I cut the top out of one of the fabrics I have a lot of... I could have used muslin for my first demo, but I figured it would turn out well enough that wouldn't be a problem. The bottom fabric is white felt which won't cause a lot of rubs and won't stain the model.

These are my 1/4" ribbon straps. For those interested, the measurements going left to right are 3.5 in, 5 in, 9 in, and 10 in.

I folded it in half then measured a 1/2 in and glued about 2 inches of the back strap, then tried that fancy turn I've been seeing everyone using. Looking at other maker's blankets, it looks like that part is usually done at an angle?
Anyway the reason I used fabric glue is that pins would have damaged the ribbon.

With only the top piece I sewed down all of the straps. I also put the hooks on the short part. I sewed down to where my ribbon was folded over but left a bit of movement available at the ends. The other side, be careful not to sew all the way to the edge, that will make it impossible to put the bias on.

This is after I put the first side of the bias on after carefully aligning the top fabric with the white felt. I need to work on corners and turns, but they came out okay. I then flipped it over and did the other side of the bias, careful not to sew over the straps or anything.
I didn't take pictures of the next step, but I put the other half of the buckles on and I put buckles and straps on the front.


The phrase 'nonexistent sewing skills' is clearly an untruth. Keep up the good work!
ReplyDeleteThanks! I'm definitely seeing improvement from practice.
Delete