Tuesday, January 29, 2019

HBK6: From start to finish!

HBK6 came together super quickly, which I really appreciated! I'm completely in love with making these tiny saddles. They come together quickly and just look stunning! So from start to finish here we gooooo!


Making the tree.

I used florists wire but jewelry wire works just fine too. I used tooling calf leather. Honestly, use less leather than I did. Next time I'm just going to clamp both sides of leather together and then cut out the shape of the tree. The way I did it this time is fine, but it made a really bulky tree which is not quite to scale but looks fine.

So bend wire into saddle tree with horn.


Cover with leather. Tooling calf for shoulders, skiver for horn.


Next I cut out the skirt and made the girth out of leather lace with buckles on both sides. Glued on jump rings to bottom of skirt and glued on billets too.

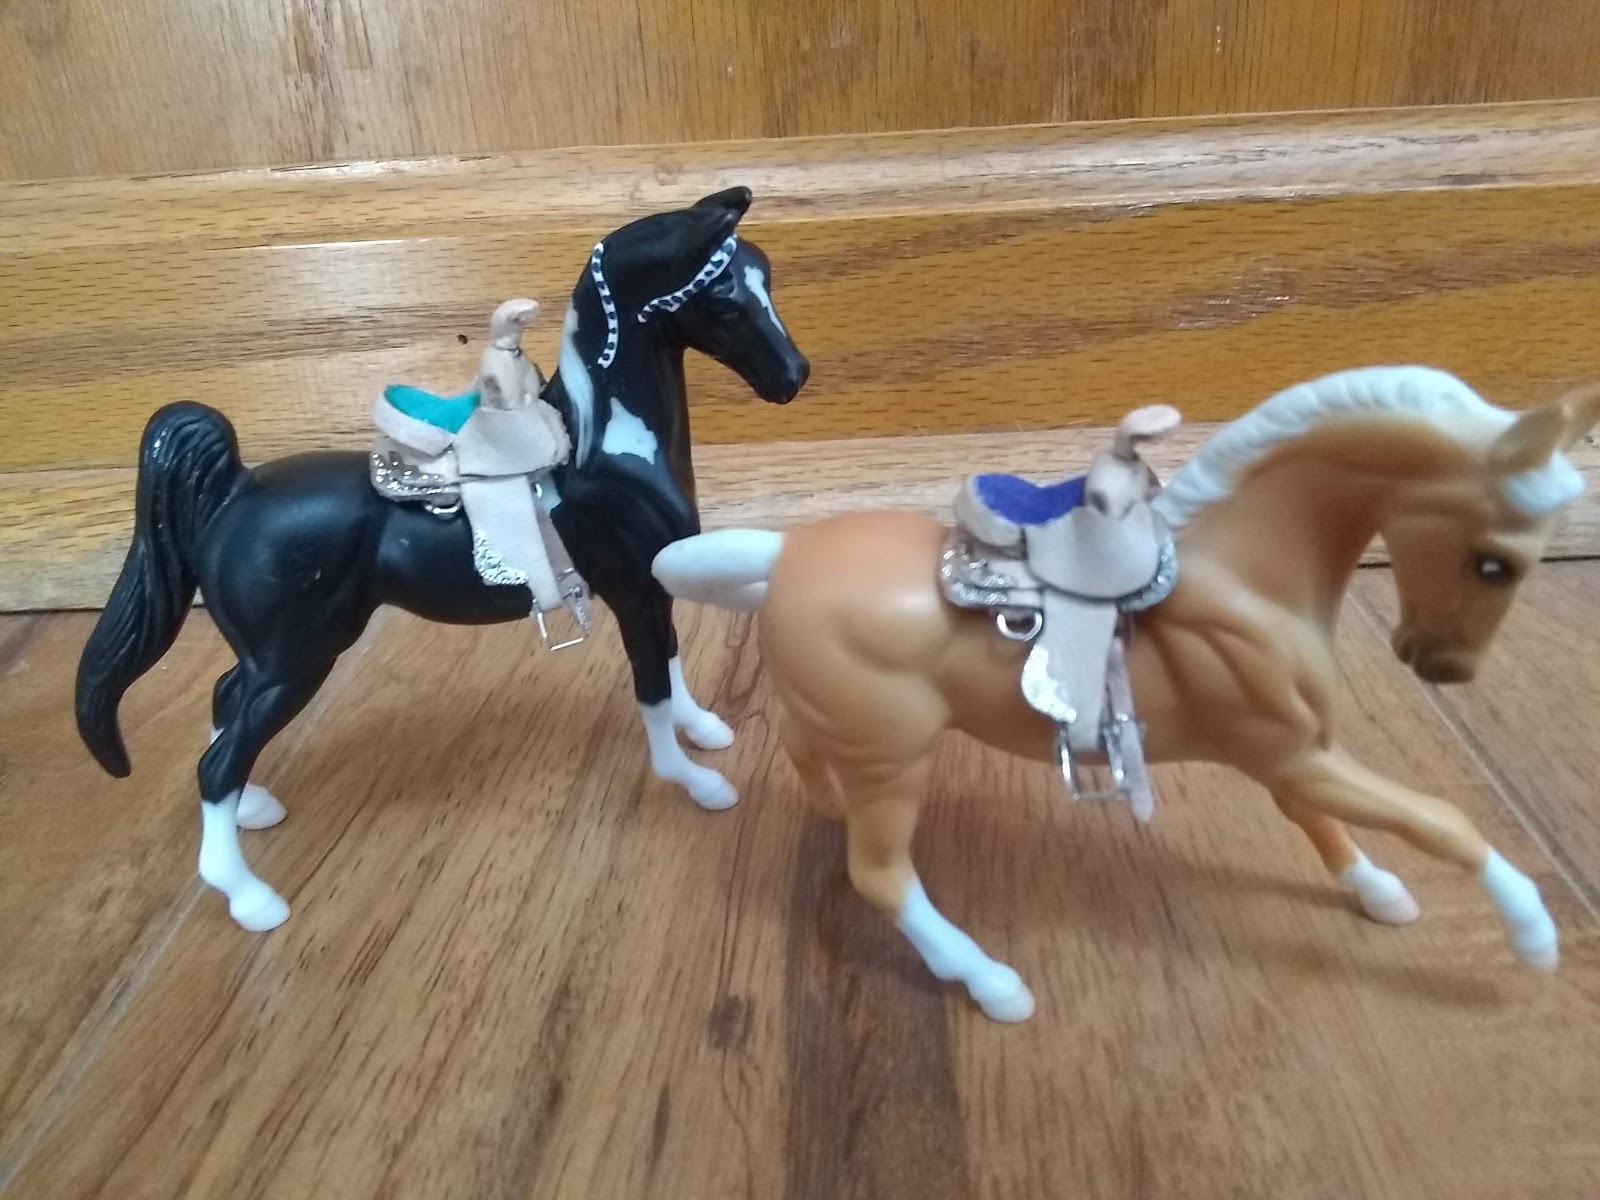
Here's it on my horse. Yay. I also put the corner plates on. 


I put on the silver and stirrups and upper skirt. Next went making the seat.


Making the seat is actually pretty simple. It's suede glued to skiver. Then before the glue dries, I shape it into a seat. I also glue on the cantle support.


Next put the seat on. Then attach the cantle. Then the wings or whatever proper term they're called.


All done! The dinos approve!


Saturday, January 26, 2019

HBK5: Go Tiny or Go Home

Personally, I want to go tiny and go home but that's just me. I've started my foray into the realm of 1:32 which is so tiny! But I absolutely love it! I thought it would be hard, not so much. I'll probably try for a tutorial in HBK6. HBK5 was really a test run to see if I could do it. I've learned a lot from my first stablemate western saddle and I've had fun with the new rio rondo silver plates! The best part is I literally got the saddle done in one day, yep it came together that fast!

Starting out I made a girth of leather lace with buckles, changed the buckles to cut down on bulk. I need to make a longer girth next time. I didn't really take pictures of this step... But here's the finished girth with the lower skirt.


I used rio rondo d rings for the front girth holding because they're flat to cut down on bulk under the stirrups. I used jump rings for the back girth. I also put on my corner plate! I'll show how all this is done later.

Here's it on the horse. 


Next I made a tree, forgot to take pictures of how I did that. Even I am surprised at how well it turned out!


Then I proceeded to build the seat, put it on and suddenly remember stirrups exist. Then I had to take the seat off and put stirrups on and put the seat back on.. :P

I also put the upper skirt on and side panels and then I remembered to take a picture.


PS. I added more silver after that... 


Friday, January 25, 2019

HBK5 and HBK6 are done!

Yup I know that was fast! They turned out so cute too! I tried to be quick about getting all these saddles done in preparation for my move next month. The less stuff to move, the better. Unfortunately I still have lots of stuff....

HBK5 and HBK6 will be headed to etsy today.


We'll see when they sell. HBK4 has already sold so if you wanted that one, you missed out. And I'm not going to be making traditional size saddles for a while. I'm going to stick to the 1:32 scale for a bit longer. I think going that small and detailed is going to really improve my tack making abilities. For starters I've already learned a few skills for making my own trees. Which I need to improve on for sure.


HBK5: Light tan leather with blue seat and heavy silvering.


HBK6: Light tan leather with a teal seat and heavy silvering.


Wednesday, January 23, 2019

Tuesday, January 22, 2019

HBK4: Almost Done!

After much procrastinating on making the saddle, it sure comes together quickly. Some bad news is that while I will still be listing the saddle for sale on etsy, there will not be a bridle with it. Blame me and my clumsy hands, I kinda sorta accidentally broke one side of the bit. So now here I am, bitless... and since my move is coming up soon, I'm really not going to have enough time to get in another rio rondo order nor do I want to. I've got a long list of things that I'll be needing from them and I'd hate to have to move everything especially because things are bound to become lost upon moving. But onto the saddle.

Putting the seat on. It's actually a little crooked, but not a noticeable amount unless your a bit of a perfectionist like me.


Then on goes the upper skirt. I love the plating I did on this one, it looks nice.


Putting on the suede seat was a whole other story. That took a lot of clamps.


Sunday, January 20, 2019

HBK4: In Progress 1

Made a front and back leather cinch. This will probably be the last set of these. I really like the black cinches that I've seen on etsy and I think I'll probably pick up a few to put with the saddles or maybe I'll come up with a way to make them on my own. I'll cross that bridge some other time.


I put a nice chamois backing on the cinches since that makes them less likely to scratch or rub the models.


Made stirrups... Looks like some form of torture device but they turned out well...ish. They look better on the saddle.


Putting the stirrups on the fenders. They look better.

I made the billets last time but I've attached them to the lower skirt.


Also did the fun wrap job on the resin tree. Yay... my least favorite part because you actually have to hold it, you can't just clamp it.


Gluing things on is so much fun. Make sure to wrap the model in something protective like cling wrap to protect it. Lady phase is my favorite model for this because she is standing squarely which makes positioning things straight much easier.


Upgrading a Wreath, horse girl style