Monday, August 29, 2022

It's a Front

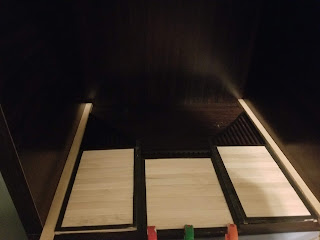
 I don't have the room for a full barn like I envisioned, but I do have the space for a stall or two... as roomboxes! So I started working on making a very fancy stall front.


One of the tricky parts was getting all the measurements right so that it fits snuggly in the outer box.


Cutting popsicle sticks to the exact same size is challenging.


Glueing together the popsicle sticks while trying to keep everything in a straight line.


Meanwhile I was designing the top bar parts in Fusion 360 in imperial *gasp* because all the square dowels were in inches and the box itself is in inches. (Oh sweet metric, going to 3/8" is so much worse than 9.5 mm)


I was also painting coffee stirrers (which along with popsicle sticks are my new favorite things).

Once they were painted and the trim was added to the doors things were looking pretty good!


I then had to get my hinges sorted out. These ones have very tiny screws that I needed to dig mini holes to put in. But combined with glue that will make them extra secure!


Up next is cutting all of the wood slats for the sides of the stall, finding a good battery light, making a latch for the stall, and deciding if I want to panel the back or brick the back because I have options. But overall I am really pleased with how this is coming together! 


Thursday, August 18, 2022

Miniature Kits


Much like how Rio Rondo kits are one of the best ways to introduce new tackmakers, miniature kits are really good for learning a ton of skills. Also I had a 40% off coupon to hobby lobby and when I returned some unused flowers from the wedding I was looking for something new to try.

So I picked up this adorable chocolatier kit. It started out in quite a few pieces and took up all my workspace. 


Following the book I made this cute little cabinet. So far I was following along and it seemed easy enough.


Then I got to practice putting together little paper things while getting glue everywhere but where it should be.


The kit is supposed to be 1:24 so my stablemates were a bit small for it but I couldn't find my two schleich horses.


A tiny cabinet filled with chocolates. This is what dreams are made of.


Even more tiny treats, yum!


Then I decided I didn't like all of the pink so I repainted it all glossy black. Black is the new pink or something.


I started putting together flowers. I should get some of the green papery stuff they had in the kit. These flowers actually turned out really well.


So at this point I decided that just painting a few panels wasn't custom enough and I'd watched a lot of the Square to Spare youtube videos so I had a baggie of coffee stirrers...

So frustrating but it turned out really nice. Then of course I blocked most of it with furniture but idk. It was a valuable skill to learn.


So anyway after painting all of the pink panels black because I wasn't feeling pink I made the contradictory executive decision to paint the interior pink?


Putting the furniture in was one of the most rewarding parts. Especially since I was the one who put it together.


Then brandishing my coffee stirrers I decided to redo the planters since the cardboard was not behaving.


Then I was working on the exterior of the shop. I painted the table and chairs glossy black too since they started as pink and gold.


Getting the lighting working was hard. I had never really worked with this stuff and I wired it backwards because I am terrible at reading instructions so that was a struggle for a bit. Lots of little wires.


But I got it all put together and it looks fabulous!


So I highly recommend trying one of these little kits. Overall it took me two weeks of effort just an hour after work or a few hours on the weekend but it is sooo cute! I also learned a lot of skills that will be helpful when I finally work up the nerve to attempt a barn project. I learned how to do wiring, make tiny paper items, assemble tiny furniture, and do miniature trim. And above all I had fun!

Tuesday, August 9, 2022

Green

I love colorful kitchens! Yes white cabinets look crisp and clean (until they don't) but they're also kinda boring. Blue cabinets, green cabinets, even brown cabinets are better in my opinion. Now that I've got a 1:9 cabinet model any color is possible. I'll have some of these cabinets (unfinished) available with prep instructions. The light blue kitchen was done with a coat of spray primer followed by two coats light blue spray paint. This is the easiest way to paint them. The spray paint adheres well, there's minimal effort and you don't have to hide brush strokes. I swear I'll be doing any more kitchens/ painted prints this way. But this is about the second way, the hard way.

This way still requires a layer of primer, specifically one intended for plastics. I still sprayed on my primer for this because it is way easier but brush on primers exist and can be ordered off of amazon. 


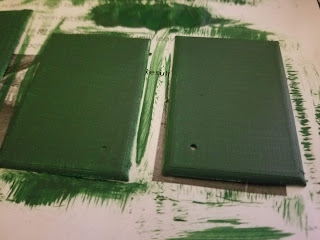
Then I started brushing on the craft acrylic. This is at two coats.


Three coats!


Here's them with 4 coats and all assembled with the beginnings of a counter! 


Upgrading a Wreath, horse girl style